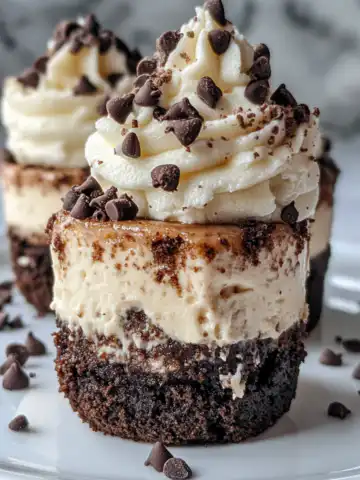
That first hiss from the cooker tells you something good is happening. You hear that pressure build and feel the excitement brewing. It’s kinda comforting in a way knowing you’re moments away from some seriously rich cake.
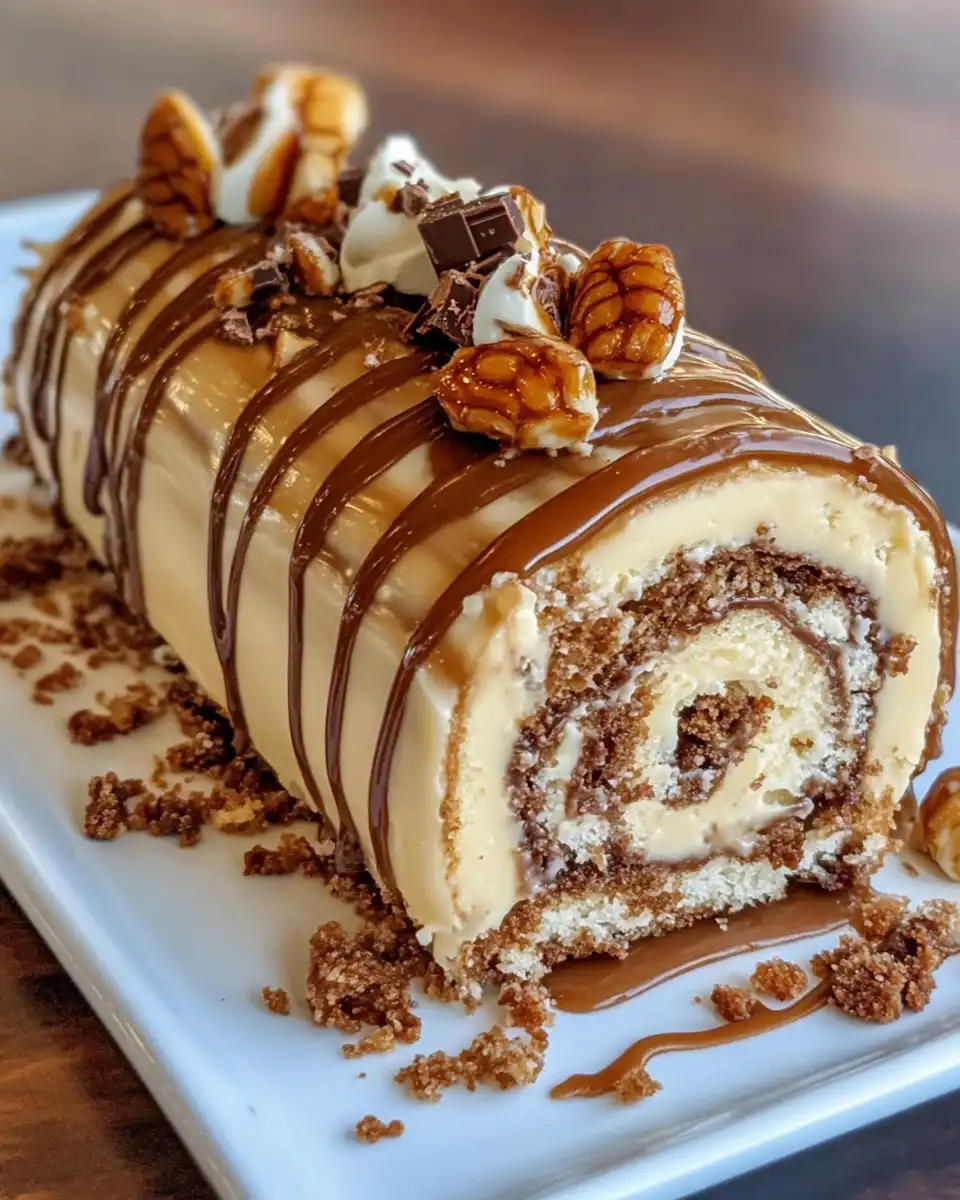
Maybe it’s the crackle of steam or the way the little valve starts doing its thing. You sense the magic building up inside that sealed pot. It’s like the cooker’s whispering secrets about what’s to come.
And once you do the quick release on that valve, your nose just can’t help but catch a whiff of all the caramel and chocolate mingling. That tender pull of the cake from the pot feels like a warm hug. Dang, you’re already sold.
The Real Reasons You Will Love This Method
- Pressure cooking makes your cake super moist and tender in less time than the oven.
- You don’t gotta babysit it—just set, close the lid, and let it do its thing.
- The pressure build really helps those flavors sink deep into every bite.
- Less heat all around means your kitchen doesn’t get all hot and crazy.
- Cleanup’s a breeze cause you're using just one pot for the whole cake.
Everything You Need Lined Up
- 2 cups self-rising flour
- 1 cup granulated sugar
- 1 cup brown sugar
- 1 cup unsalted butter (plus ¼ cup extra for icing)
- 1 cup strong black coffee, brewed
- ⅓ cup unsweetened cocoa powder
- 2 eggs
- ½ cup buttermilk (plus 4 tablespoon extra for icing)
- 1 cup semi-sweet chocolate chips (plus extra for drizzling)
- ½ cup chopped pecans
- ½ cup caramel sauce
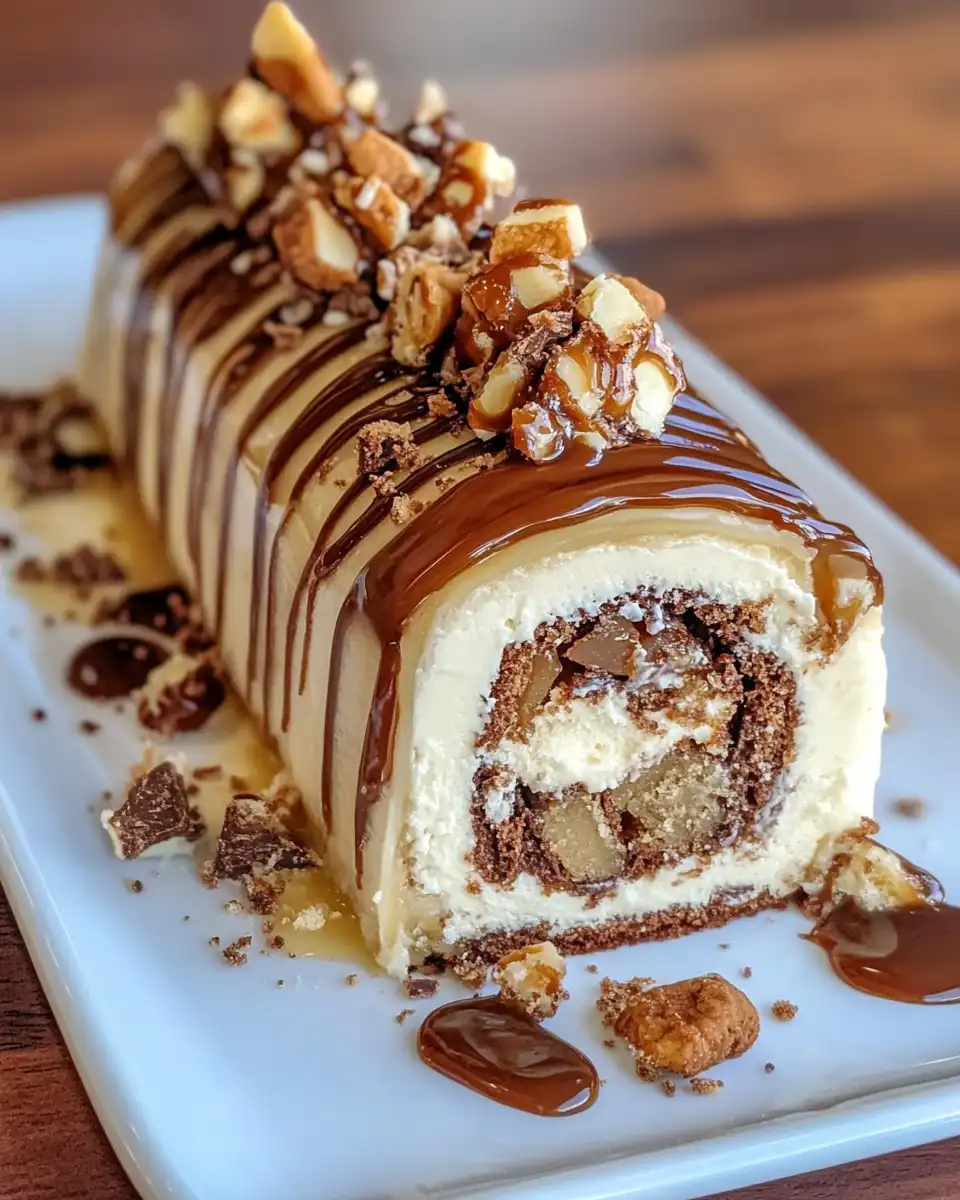
Having all this ready makes the process way smoother for you. The self-rising flour helps the cake get that perfect lift without you needing extra stuff. The coffee adds a deep flavor that kinda wakes up the cocoa. You won’t regret folding in chocolate chips—they melt into little pockets of yum.
The Exact Process From Start to Finish
First, you gotta preheat your pressure cooker by adding a little water and setting up your rack or trivet. Grease your cake pan real good so nothing sticks later. This is important cause you want that tender pull outta the pan to be easy. For tips on getting the best cake pan, check out our best cake pans for moist cakes.
Next, cream together 1 cup of unsalted butter with both sugars until it's light and fluffy. Don’t rush this part—you wanna get it well aerated. Then, add the eggs one at a time, beating well after each addition so the texture stays light.
Stir in the brewed coffee and the ½ cup buttermilk. This combos brings moisture and a nice tang to balance the sweetness. Now sift the self-rising flour and cocoa powder together, then add them gradually to the wet stuff. Mix just 'til combined—don’t overbeat or you’ll toughen the cake.
Fold in your chocolate chips carefully. Pour the batter into the greased pan and spread it out so it cooks evenly. Cover it loosely with foil to keep moisture in but dont seal tight or it’ll trap too much steam.
Place the pan on the trivet inside the cooker and seal that lid. Set it to cook on high pressure for about 35 minutes. Let that pressure build up and do its thing. For better results with your pressure cooker, see our guide on pressure cooker tips and tricks.
When done, use a slow release on the valve to keep the cake from sweating or falling apart. Wait a few minutes after the pressure has naturally released before lifting the lid.
Let the cake cool before you add your toppings. Mix the extra butter with powdered sugar and buttermilk, then drizzle on caramel sauce and sprinkle pecans and more chocolate chips on top. You just created something amazing.
Valve Hacks You Need to Know
- If you’re in a hurry, a quick release works but watch for any splatter.
- Natural release gives the cake a chance to finish cooking gently—great for getting that tender pull.
- To control moisture, poke tiny holes in the foil so steam can kinda sneak out without drying your cake.
- If your valve jams, toggle it gently—pressure takes a minute to stop so don’t force it.
The Flavor Experience Waiting for You
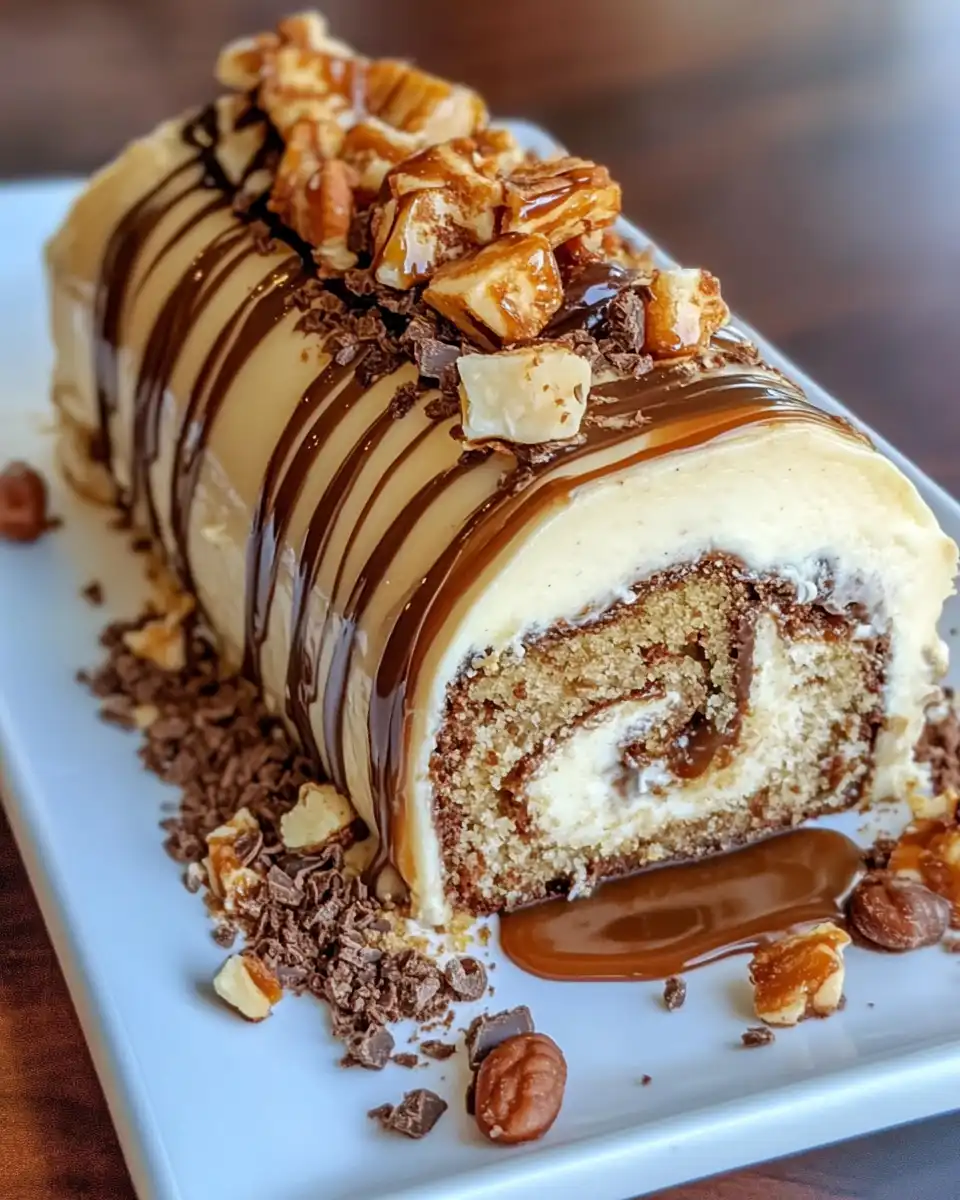
When your fork hits this cake, you notice the rich chocolate mingling with buttery caramel. Each bite feels soft and tender, kinda like a warm cloud of dessert. The nuts add a crunchy little surprise here and there which is so dang satisfying.
The coffee’s subtle bitterness pairs perfect with the sweetness, making the whole thing not just sugary but balanced and complex. You’ll catch yourself sneaking second slices for sure. For other chocolate desserts, try our favorite chocolate dessert recipes.
This cake is cozy and indulgent, perfect for sharing or hoarding all to yourself. Plus it smells heavenly right as you crack that cooker lid open. It tastes as good as it looks, so don’t hold back. Also, check our list of cozy dessert ideas for your next sweet fix.
How to Store This for Later
- Wrap leftover cake tightly in plastic wrap to keep it moist and store at room temp for 2 days.
- For longer life, put wrapped cake in an airtight container and keep it in the fridge for up to a week.
- You can freeze slices individually in foil and a zip bag for up to 3 months, just thaw overnight in the fridge before eating.
- If you want crispier edges later, pop slices in a toaster oven for a few minutes after thawing to warm up and refresh texture.
Label your stored cake with the date so you remember when you made it. The flavors kinda deepen over time but it’s best enjoyed fresh. Don’t forget to bring it back to room temp before serving for that tender pull.
What People Always Ask Me
- Can I use regular flour instead of self-rising flour?
You can but you’ll need to add baking powder and a pinch of salt to get the lift right. - Is brewed coffee necessary?
The coffee really boosts the cocoa flavor but you could swap it for hot water if you want a milder taste. - What if my chocolate chips melt in the batter?
That’s actually good! It makes pockets of melty chocolate, but if you want chunks just toss them in right before pouring. - How do I know when the cake is done?
Use a toothpick in the center—it should come out mostly clean with just a crumb or two. - Can I double this recipe?
Yeah you can, but make sure your pressure cooker and pan are big enough to hold the batter evenly. - Do I have to use caramel sauce?
Nope, but it really brings that Texas turtle vibe, sweetness and a little gooeyness you’re gonna love.
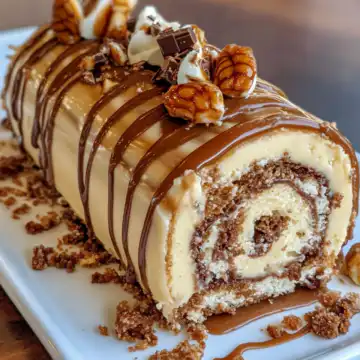
Decadent Texas Turtle Sheet Cake Recipe
Ingredients
Main ingredients
- 2 cups self-rising flour
- 1 cup granulated sugar
- 1 cup brown sugar
- 1 cup unsalted butter plus ¼ cup extra for icing
- 1 cup strong black coffee brewed
- 0.33 cup unsweetened cocoa powder
- 2 eggs
- 0.5 cup buttermilk plus 4 tablespoon extra for icing
- 1 cup semi-sweet chocolate chips plus extra for drizzling
- 0.5 cup chopped pecans
- 0.5 cup caramel sauce
Instructions
Instructions
- Preheat your pressure cooker by adding a little water and setting up your rack or trivet. Grease your cake pan well so nothing sticks later.
- Cream together 1 cup of unsalted butter with both sugars until light and fluffy. Add eggs one at a time, beating well after each addition.1 cup unsalted butter, 1 cup granulated sugar, 1 cup brown sugar, 2 eggs
- Stir in the brewed coffee and ½ cup buttermilk. Sift self-rising flour and cocoa powder together, then add gradually to the wet mixture and mix just until combined.1 cup strong black coffee, 0.5 cup buttermilk, 0.33 cup unsweetened cocoa powder
- Fold in chocolate chips carefully. Pour batter into greased pan and spread evenly. Cover loosely with foil to retain moisture.1 cup semi-sweet chocolate chips
- Place the pan on the trivet inside the cooker and seal the lid. Cook on high pressure for 30 minutes.
- Use a slow release on the valve. Wait a few minutes after pressure has naturally released before lifting the lid.
- Let the cake cool. Mix extra butter with powdered sugar and buttermilk for icing, then drizzle caramel sauce and sprinkle pecans and more chocolate chips on top.1 cup unsalted butter, 0.5 cup buttermilk, 0.5 cup caramel sauce, 0.5 cup chopped pecans, 1 cup semi-sweet chocolate chips
- Enjoy your rich, tender, and flavorful Texas Turtle Sheet Cake fresh or stored as desired.
- Store leftover cake wrapped tightly in plastic wrap at room temperature for up to 2 days or refrigerated for up to a week. Freeze slices individually for longer storage.