










Steam curls up from the valve and your stomach starts talking back. You remember the first time you tried making cheesecake in a pressure cooker. It was a little bit nerve-wracking but dang, it turned out way better than you imagined. The steam cues gave you a little hint that things were cooking just right.
As that soft smell fills your kitchen, you notice the anticipation creeping in. You feel it tugging at your attention, reminding you of the creamy delight that’s about to be yours. It’s all about that broth depth and the balance of quick release to lock in the perfect texture.
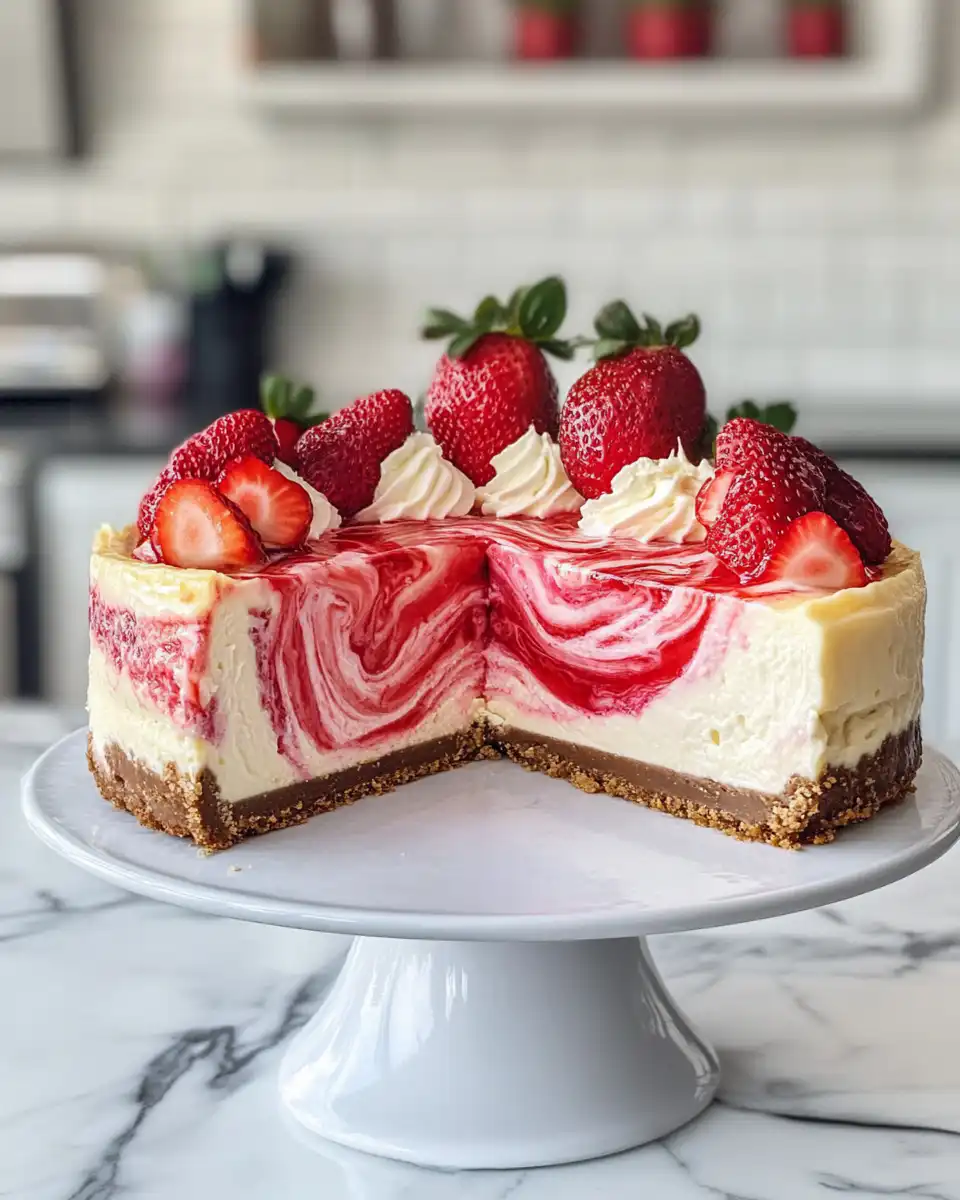
Each swirl of strawberry sauce, layered over that smooth batter, looks so pretty you almost don’t wanna touch it. But you do, cause who can resist cheesecake? The natural release step stretches the excitement just a little longer, perfect to get ready for that first bite.
Why This Recipe Works Every Single Time
- Using softened cream cheese guarantees a smooth, lump-free batter you’ll love.
- The crust with cinnamon and ginger adds a warm spicy note that balances the sweetness.
- Mashing those digestive biscuits fine makes the crust firm and holds together really well.
- Strawberry sauce drizzled and swirled gives that fresh fruity kick in every slice.
- Room temperature eggs and sour cream mix in seamlessly to avoid curdling.
- Slow release after cooking helps the cheesecake set perfectly without cracking.
- Pressure cooking cuts down oven time so you get creaminess without drying out.
Your Simple Ingredient Checklist
- 200 g (7oz) digestive biscuits or cookies make the base crunchy and flavorful.
- ¼ teaspoon cinnamon and ¼ teaspoon ground ginger to spice up the crust a bit.
- 100 g (3.5oz) unsalted butter, melted, for that buttery rich crust.
- 750 g (1.7lb) cream cheese softened, the star of your creamy cheesecake filling.
- ¾ cup (150g/5.3oz) caster sugar adds the right sweetness without grittiness.
- 1 ½ teaspoons vanilla extract to lift the flavor with warmth.
- 2 large eggs and 1 egg yolk, both room temp for better blending and texture.
- 200 ml (6.7floz) light sour cream, also room temperature, for that tangy smoothness.
- Zest and juice of 1 lemon bring a bright, fresh zing to the whole cheesecake.
- A pinch of salt to highlight flavors and balance sweetness.
- ⅔ cup strawberry sauce for drizzling and swirling into the batter.
Your Complete Cooking Timeline
- Start by prepping your crust. Blitz the digestive biscuits with cinnamon and ginger in a food processor until they’re super fine crumbs. Then stir in melted butter and press the mix into a 9-inch springform pan lined and greased.
- Bake this crust at 160°C (320°F) for 10 minutes till it's nicely set. This step is important to keep your crust from getting soggy later.
- Meanwhile, whip your cream cheese and sugar till smooth and creamy. Add vanilla extract and eggs one by one, beating after each, then stir in sour cream carefully.
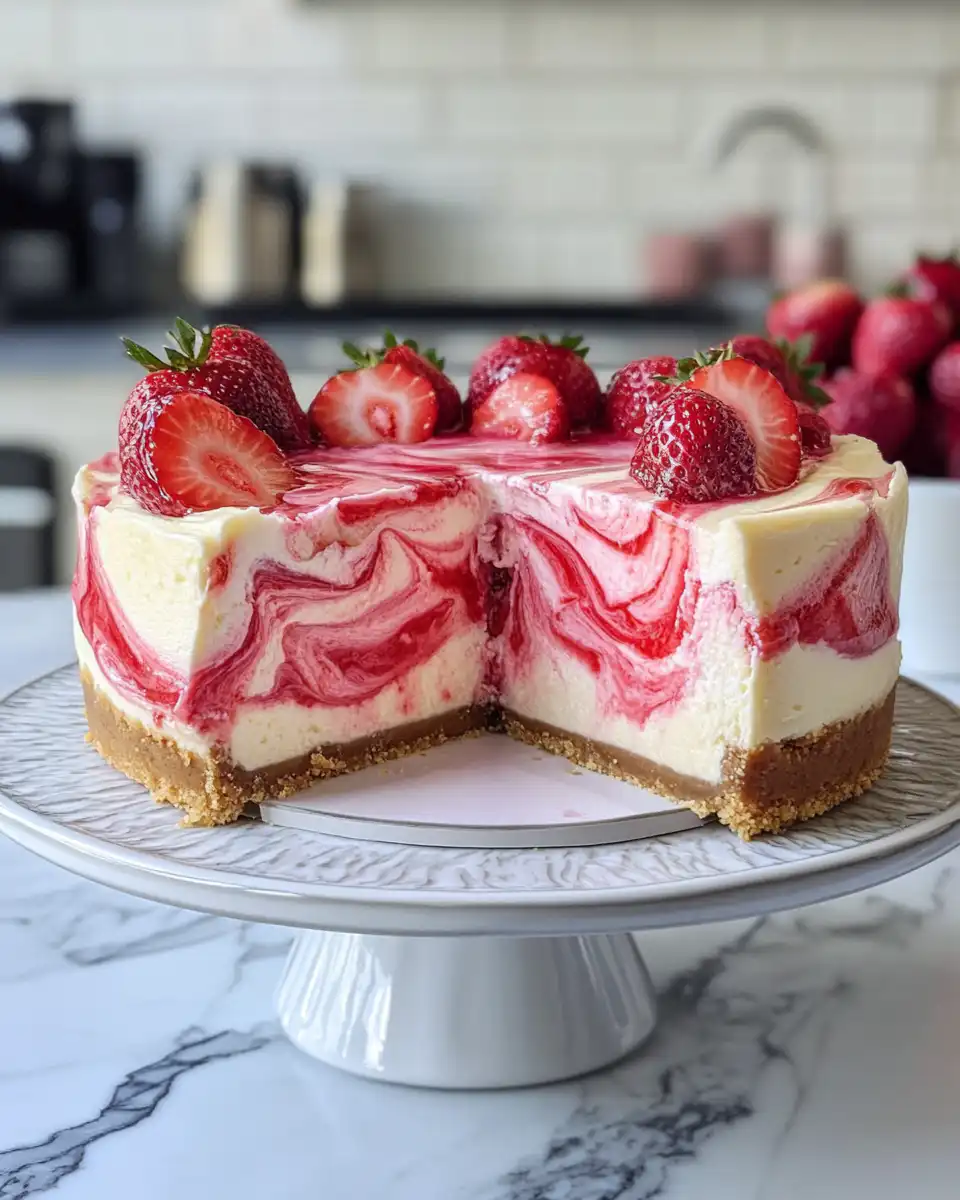
- Pour your batter over the cooled crust and add strawberry sauce on top. Use a skewer to swirl the sauce gently through the batter to create pretty patterns.
- Bake in the oven 45-50 minutes till the center just barely jiggles. Then switch the oven off, crack the door open a bit and let the cheesecake cool inside for an hour. This slow release helps prevent cracks.
- Once it’s at room temp, put it in the fridge for at least 4 hours or overnight. That waiting time is key to get creamy, firm slices you can’t wait to eat.
Easy Tweaks That Make Life Simple
- If you wanna skip the oven step, you can do the initial crust baking in the pressure cooker using a trivet. Just quick release carefully after 10 mins to avoid mushy crust.
- Use store-bought strawberry sauce if you don’t feel like making your own. Just swirl it fresh from the jar and it works real good.
- For faster chilling, divide the cheesecake into smaller containers. Less thickness means quicker chilling time, perfect if you’re in a rush.
The Flavor Experience Waiting for You
Each forkful of this cheesecake feels like a creamy cloud melting in your mouth. The slight tang from sour cream and lemon zest wakes up your taste buds just right.
The crust’s spices play a subtle dance with the sweet strawberry swirls. It’s like a cozy hug wrapped in dessert form. That buttery biscuit base also adds a crunch that contrasts perfect with the soft filling.
The strawberry sauce is fresh and bright, not too sugary, making every bite pop with fruity freshness. The swirls look amazing too, sometimes you just wanna stare awhile before digging in.
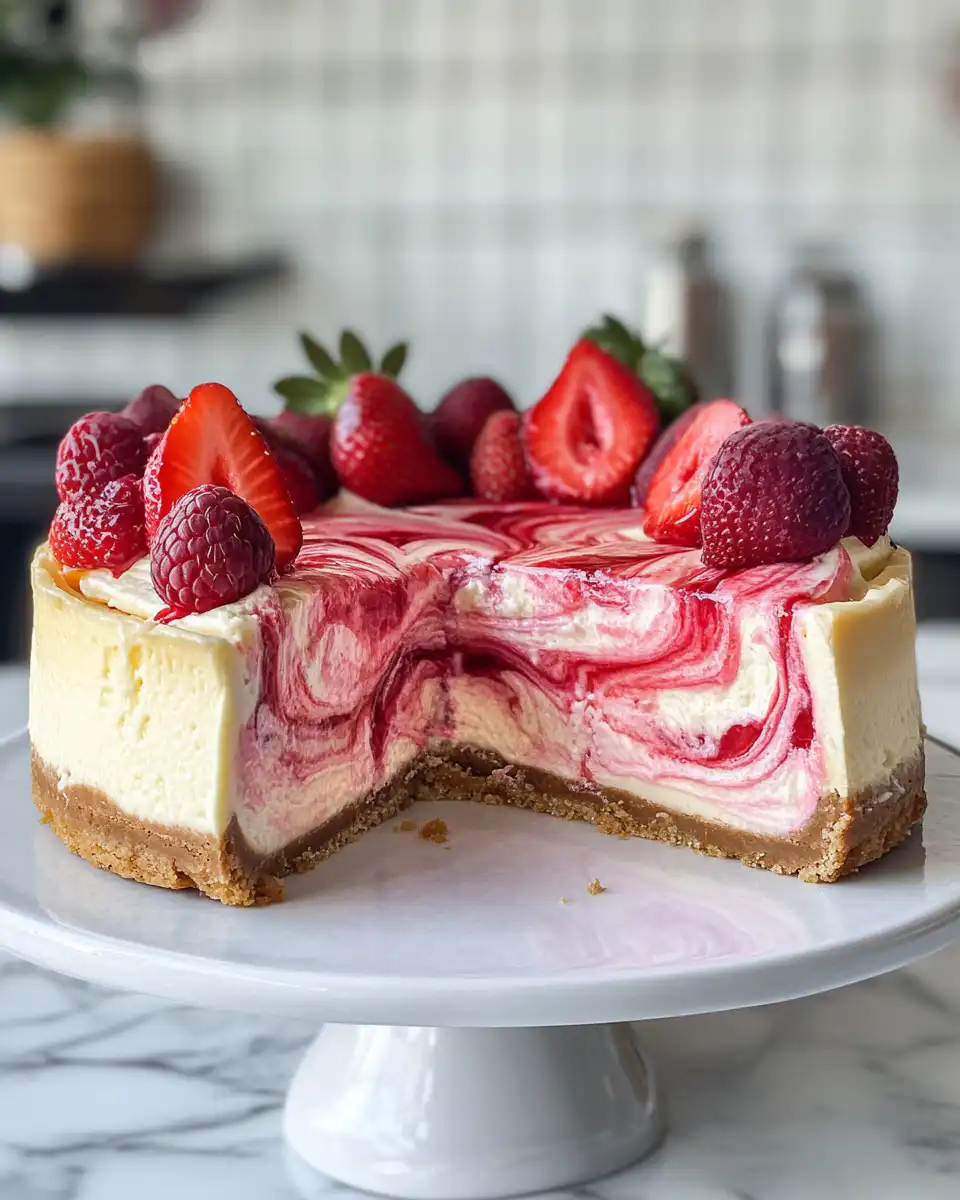
Altogether, it’s a cheesecake that’s simple but totally special. You gonna want seconds, no lie.
Making It Last All Week Long
- Wrap your cheesecake tightly in plastic wrap to keep it moist and fresh. This helps keep fridge smells out too.
- Use an airtight container if you’ve sliced it up already. Keeps the edges from drying out and looking sad.
- If you need to store longer than a few days, freeze individual slices. Wrap each slice in foil and place in a freezer bag so it won’t pick up weird smells.
- When you wanna eat frozen cheesecake, thaw it overnight in the fridge so it keeps that creamy texture without getting watery.
The FAQ Section You Actually Need
- Can I use regular cream cheese from the fridge?
You gotta soften it to room temp to mix it well and avoid lumps. Cold cream cheese won’t blend nicely so take that extra time. - What if I don’t have a springform pan?
Try using a regular cake pan lined with parchment, but cheesecake’s easier to get out when you use a springform. - Is quick release or natural release better for this cheesecake?
You want a natural release after pressure cooking to avoid cracking. Quick release shocks the cake and could mess with texture. - Can I swap the strawberry sauce for another fruit?
Definitely! Blueberry or raspberry sauce works great and gives a different but yummy flavor twist. - How can I tell when the cheesecake is done?
Look for a gently jiggle in the center when you give it a little shake. If it’s wobbly but not liquid, you’re good. - Can I make this recipe in the oven only?
Yep, follow the same steps but bake it at 320°F (160°C) for about 45-50 minutes, then do the slow release cooling in the oven with the door ajar.
For more tips and related recipes, check out our Easy Cannoli Cheesecake Bars Recipe, Chocolade Lasagne Recipe, and Black Forest Trifle Recipe for delicious ideas to keep you inspired in the kitchen.
Strawberry Swirl Cheesecake in Your Pressure Cooker
Equipment
- 1 Mixing bowl Large
- 1 Springform pan 9-inch, lined and greased
- 1 Food processor
- 1 Oven Preheated to 160°C / 320°F
Ingredients
Main Ingredients
- 200 g Digestive biscuits or cookies
- ¼ teaspoon Cinnamon
- ¼ teaspoon Ground ginger
- 100 g Unsalted butter melted
- 750 g Cream cheese softened
- ¾ cup Caster sugar
- 1 ½ teaspoons Vanilla extract
- 2 Eggs large, room temp
- 1 Egg yolk room temp
- 200 ml Light sour cream room temp
- 1 Lemon zest and juice
- 1 pinch Salt
- ⅔ cup Strawberry sauce
Instructions
Instructions
- Preheat the oven to 160°C / 320°F. Grease and line a 9-inch springform pan.
- Blitz digestive biscuits with cinnamon and ginger into fine crumbs. Stir in melted butter and press into the pan base. Bake for 10 minutes and set aside to cool.
- Beat softened cream cheese and sugar until smooth. Add vanilla, then eggs and yolk one at a time. Stir in sour cream, salt, lemon zest, and juice until creamy.
- Pour batter over cooled crust. Dollop and swirl in strawberry sauce with a knife to create patterns.
- Bake for 45-50 minutes until center slightly jiggles. Turn oven off and let sit with door cracked for 1 hour.
- Remove from oven and cool at room temperature about 45 minutes more.
- Transfer cheesecake to fridge and chill at least 4 hours or overnight to fully set.
- Slice and serve chilled with extra strawberry sauce if desired.
- Wrap leftovers tightly or store in an airtight container in fridge for several days.



