










Steam curls up from the valve and your stomach starts talking back. The scent of rich chocolate kinda fills the kitchen air, making you wanna get busy real quick. You catch the gentle hiss of the pressure cooker, and that sealing ring holds all the tasty promise inside.
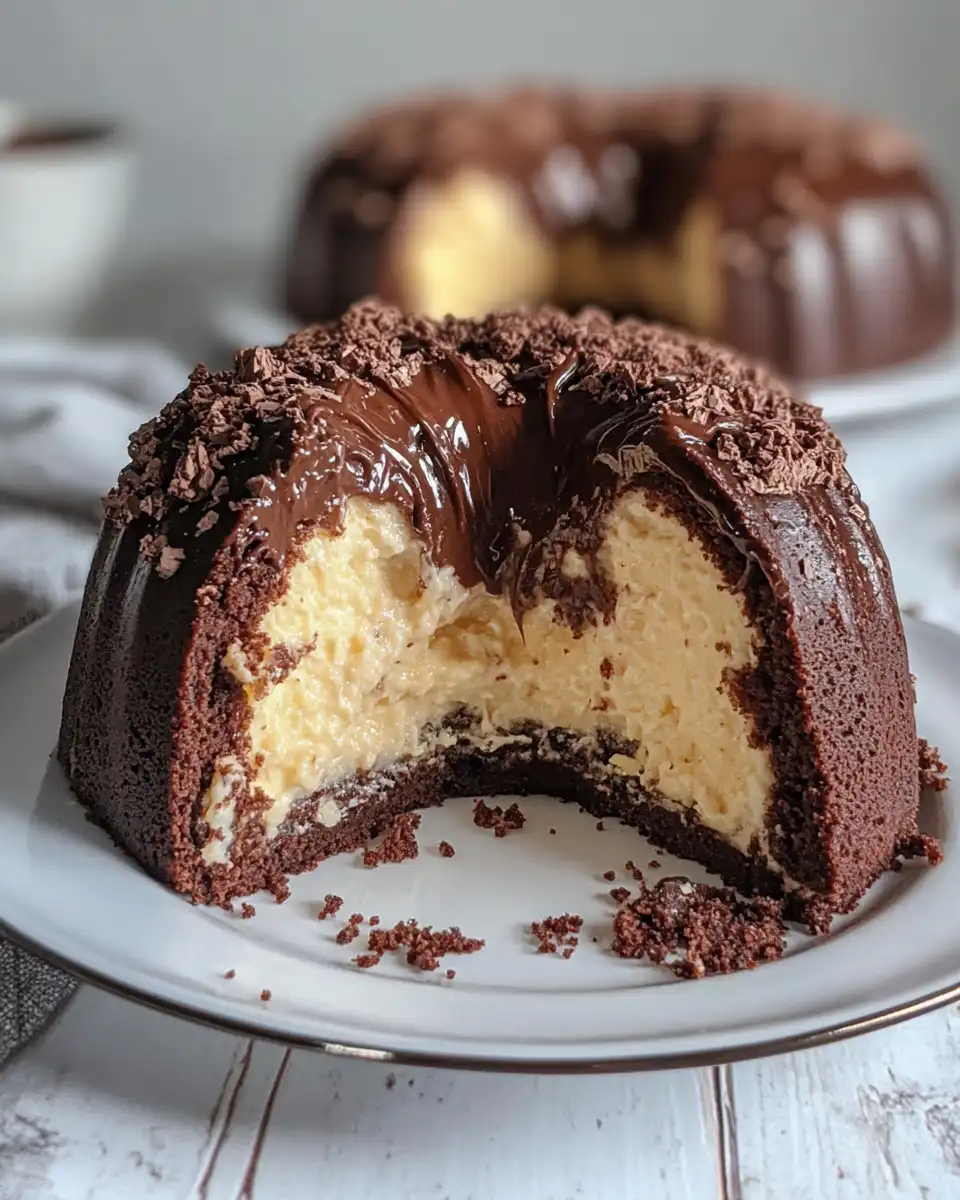
Inside the pot, things kinda get serious quick. The pressure build pushes the flavors into a cozy hug, and you remember how chocolate just melts into something tender and sweet. You grab your spoon ready for that first bite, knowing that pressure cookin' makes things fast but still yum.
Then you sense it again94the valve hiss as the quick release lets all that steam out. You peek inside, expecting the perfect tender pull of chocolate goodness. It92s all there, warm and waiting, like a little reward for sticking through the wait.
The Truth About Fast Tender Results
- You don92t gotta wait hours to get that great chocolate texture.
- The pressure cooker seals in the moisture real good.
- Chocolate melts evenly and smooth without overcooking.
- The sealing ring keeps all that taste from escaping.
- Quick release makes sure your treat don92t get soggy from sitting too long.
- Pressure build time is key for tender results94too short and it92s underdone, too long and it gets dense.
- Your recipes work best when you don92t open the valve early, so be patient!
For tips on pressure cooker baking success, also check out our Pressure Cooker Cannoli Cheesecake Bars Recipe and Chocolade Lasagne Recipe for more ideas that use sealing rings and pressure cooking finesse.
What Goes Into the Pot Today
- 200 g dark chocolate92sharp and rich tastes here.
- 200 g butter to keep it moist and creamy.
- 200 g sugar all around sweet but not too much.
- 4 eggs for that perfect structure and lift.
- 200 g all-purpose flour for a tender crumb.
- 1 teaspoon baking powder to help it rise gently.
- A pinch of salt to balance all that sweet.
- 300 g cream cheese for a smooth cheesecake filling.
- Extra sugar, an egg, and vanilla extract to bring out the flavor in the filling.
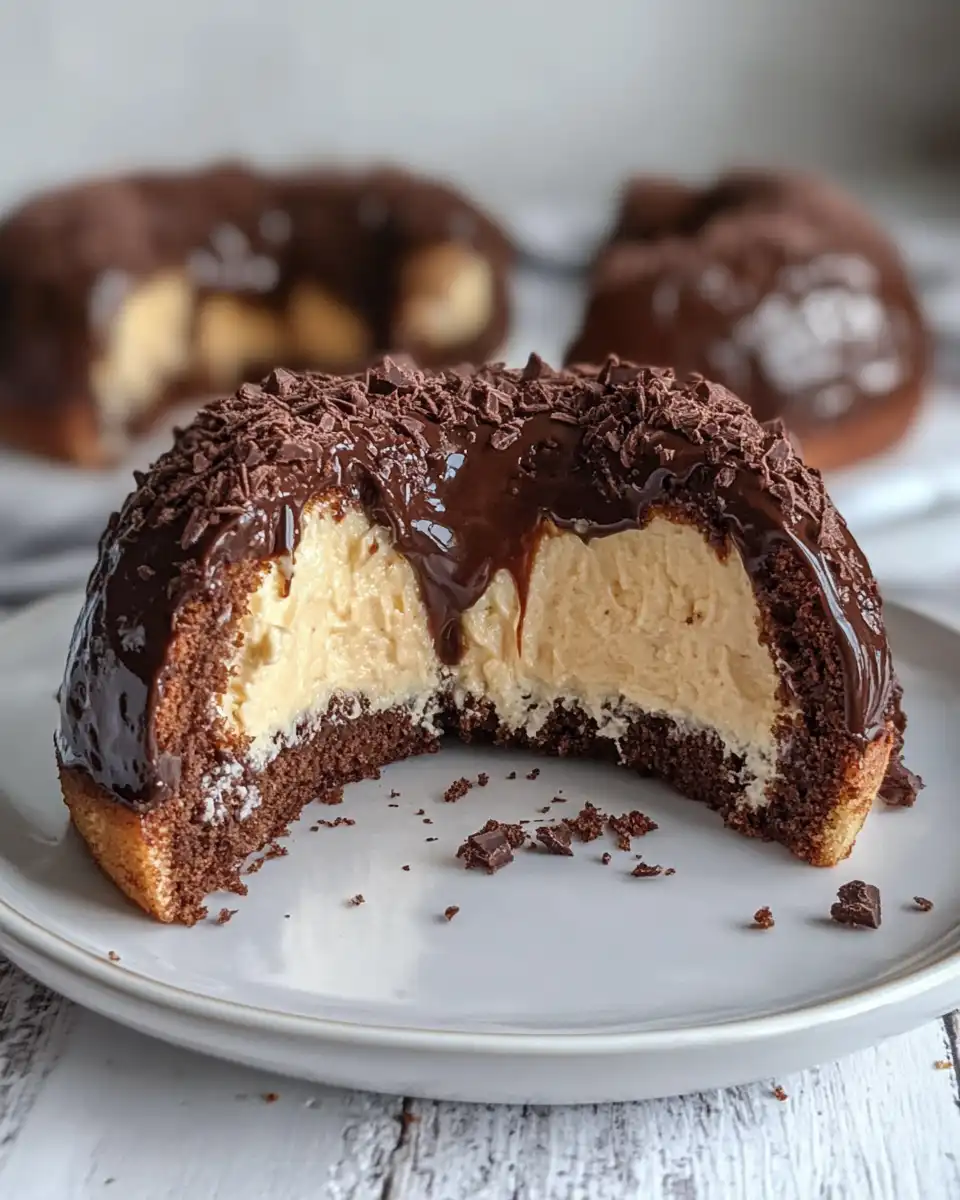
These ingredients are not fancy but they play together perfect. You mix and match the chocolate and cream cheese for a texture that92s kinda dreamy. Butter and sugar make sure your dessert stays moist and melts right away on your tongue. Plus, you gotta the eggs and flour working hard for that tender pull. Vanilla in the cheesecake faintly sings in the background.
Your Complete Cooking Timeline
First thing, preheat your oven to 180 degrees Celsius or 350 Fahrenheit. Grease up a Gugelhupf pan so your cake won92t stick. This step sets the stage right.
Next, melt the dark chocolate with butter together in a heatproof bowl over simmering water. You gotta let it cool a bit, so your eggs don't scramble when added later.
In a big bowl, beat the sugar with eggs until it92s light and fluffy. You want that softness to carry all the flavors.
Stir in the melted chocolate mixture carefully so you keep those fluffy bubbles. Then, whisk the flour, baking powder, and salt separately before folding them in gradually. You don92t wanna overmix or lose that tender texture.
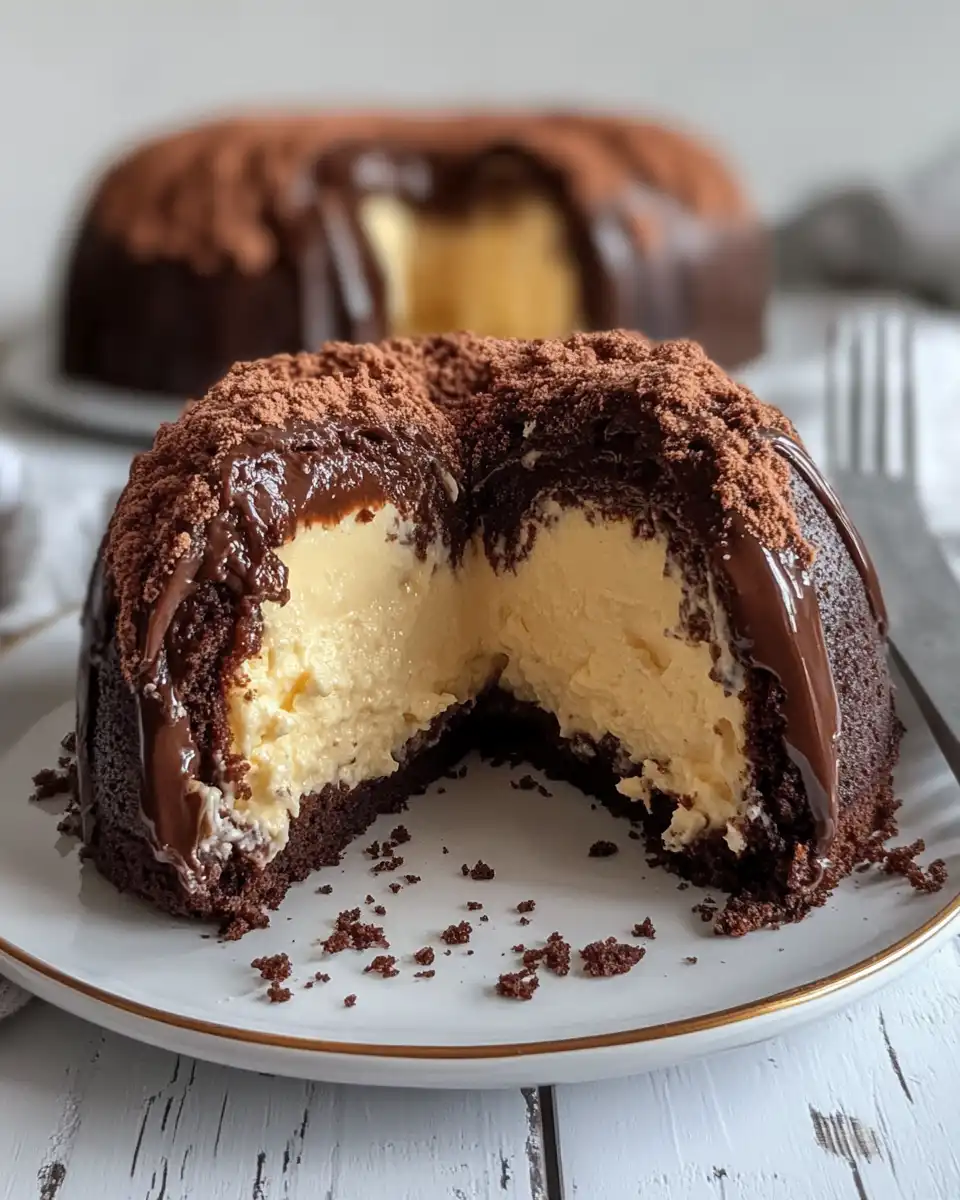
For the cheesecake filling, beat cream cheese with sugar, an egg, and vanilla until it92s smooth and creamy. This filling is gonna be the surprise treasure inside.
Pour half the chocolate batter into your pan. Spoon the cheesecake filling evenly on top, then spread the remaining chocolate batter over it. Now bake for around 45 to 50 minutes. You92ll know it92s done when a skewer comes out clean.
Let the cake cool in the pan for 15 minutes before you move it to a wire rack to cool completely. That cooling step is important for slicing neat pieces later.
Smart Shortcuts for Busy Days
- Get your chocolate and butter pre-melted and chilled in the fridge early morning or day before.
- Use pre-sifted flour mix with baking powder and salt all ready to fold in.
- Swap the Gugelhupf pan for a simple round cake pan if you92re short on time94same results just a different look.
These shortcuts save you time without giving up any of the rich flavors. You can totally fit this recipe into a busy schedule and still impress whoever92s lucky enough to get a slice.
The Flavor Experience Waiting for You
Your first bite brings a tender pull that melts into smooth chocolate richness. It92s kinda like a hug in dessert form, soft and slightly gooey with that creamy cheesecake surprise inside.
Chocolate and cream cheese play off each other making it not just sweet but balanced. You catch the faint hints of vanilla and that little pinch of salt making all the flavors pop in your mouth.
Every mouthful gets a bit creamier and richer as you go, the texture shifting from tender crumb to melting softness. It leaves you feeling warm inside, remembering why chocolate never gets old for you.
Making It Last All Week Long
- Store slices in an airtight container in the fridge. This keeps 91em fresh up to 5 days.
- Wrap individual pieces tightly in plastic wrap before refrigerating to stop any flavor mixing.
- You can freeze portions in freezer-safe bags for longer storage. Thaw in the fridge overnight before eating.
- If you want a quick refresh, microwave slices for 10-15 seconds to get that tender pull back before serving.
Keeping your dessert just right involves a little care but totally worth it. You don92t gotta rush through your chocolate treats when you store and reheat properly. With these tips, you always got chocolate ready to enjoy without stress.
The FAQ Section You Actually Need
- Can I use milk chocolate instead of dark? You can, but the flavor won92t be as intense and might be a bit sweeter. Dark gives that rich chocolate taste you really want.
- Is it okay to skip the cheesecake filling? Sure, but it adds a creamy surprise that balances the chocolate. Without it, you get a denser brownie-like cake.
- Do I need to use a Gugelhupf pan? Nope, any baking pan that fits your pressure cooker works fine. Just adjust baking time a little if your pan is deeper or shallower.
- How do I know when to use quick release or natural release? For this recipe, quick release after baking is best so your cake won92t overcook or turn soggy inside the cooker.
- Can I add nuts or fruit? Totally! Chopped nuts or dried fruit mix right into the batter for an extra texture twist.
- What92s a sealing ring and why92s it important? The sealing ring is the rubbery part around the lid that keeps pressure locked in tight. Without it, your cooker won92t build pressure right and your cake might not cook properly.
Chocolate Gugelhupf with Cheesecake Filling
Equipment
- 1 Mixing bowl large mixing bowl
Ingredients
Main Ingredients
- 200 g Dark chocolate sharp and rich
- 200 g Butter keeps it moist
- 200 g Sugar adds sweetness
- 4 Eggs for structure
- 200 g All-purpose flour for tender crumb
- 1 teaspoon Baking powder helps rise
- 1 pinch Salt balances sweet
- 300 g Cream cheese for filling
- 2 tablespoons Sugar for filling
- 1 Egg for filling
- 1 teaspoon Vanilla extract for filling flavor
Instructions
Instructions
- Preheat oven to 180°C/350°F and grease a Gugelhupf pan.
- Melt the chocolate and butter in a heatproof bowl over simmering water, then let cool slightly.
- Beat sugar and eggs together until light and fluffy.
- Mix in the cooled chocolate mixture gently to preserve fluffiness.
- Whisk flour, baking powder, and salt together, then fold into batter gradually without overmixing.
- For cheesecake filling, beat cream cheese with sugar, egg, and vanilla until smooth and creamy.
- Pour half of the chocolate batter into the pan. Spoon in the cheesecake filling, then top with remaining batter.
- Bake for 45–50 minutes or until a skewer inserted comes out clean.
- Cool in the pan for 15 minutes, then transfer to a wire rack to cool completely.



