










The pot lid rattles and you know dinner is almost ready. You catch that little shake and rattle, feel it deep in your bones kinda telling you that something good is happening inside that pot. The steam cues start showing, and your senses start working double time, waiting for that final reveal when you lift the lid off.
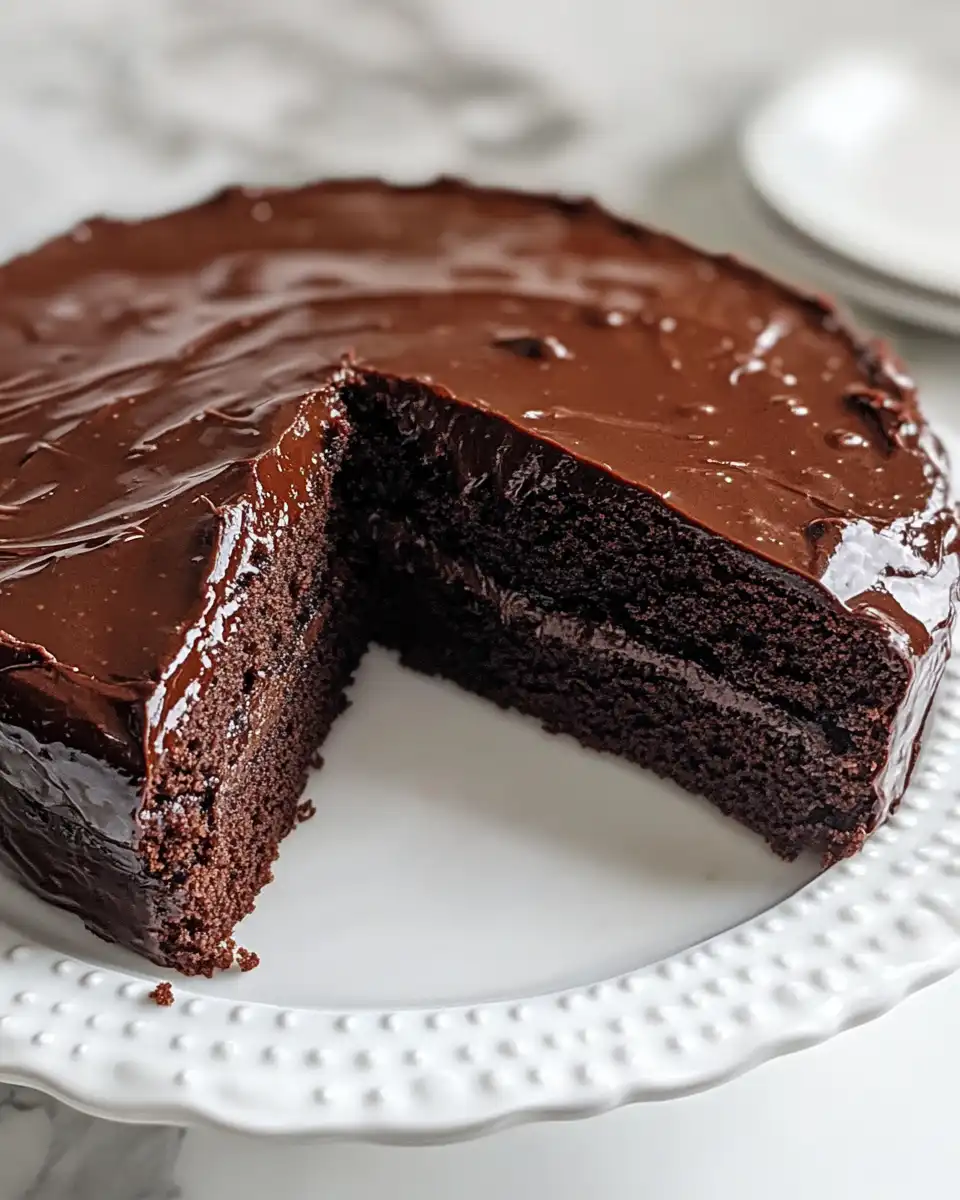
This pressure cooker you got makes cooking a breeze. After a long day, you just set it up with your ingredients and let it do its thing. You recall the smooth broth depth bubbling beneath, the float valve popping up, signaling that pressure build is exactly right and your food’s gonna be perfect.
It’s the kinda cooking that feels like a cozy hug, that warm promise of a home-cooked meal, even if your kitchen’s just a small city condo. You know how these appliances work, trust them, and you reap the rewards of moist, tender dishes every time.
Why Your Cooker Beats Every Other Pot
- Locks in flavors better than regular pots which means your chocolate cake tastes extra rich and moist
- Speeds up cooking by building pressure fast so you spend less time waiting
- Retains moisture with its sealed environment making every bite tender and juicy
- Easy steam cues and float valve give you real-time signals on cooking progress
- Quick release option saves you from overcooking and keeps texture spot on
- Multi-functional so one pot can make dessert, main dishes, and even sides without switching pans
Everything You Need Lined Up
- 2 cups all-purpose flour
- 1 ⅓ cups granulated sugar
- 1 cup brown sugar
- 1 cup cocoa powder
- 2 ½ teaspoons baking soda
- 2 teaspoons baking powder
- 1 teaspoon salt
- 1 ¼ cups buttermilk at room temp
- ¾ cup coffee at room temp
- ⅔ cup vegetable oil
- 3 eggs at room temp
- 1 tablespoon vanilla extract
- 2 cups unsalted butter at room temp
- 2 cups powdered sugar
- 1 cup cocoa powder (for frosting)
- ½ teaspoon salt (for frosting)
- 2 cups chocolate chips
- ¼ cup honey
- ¼ cup heavy cream
- 1 teaspoon vanilla extract (for frosting)
You gotta make sure every ingredient is ready to roll. Room temperature eggs and dairy help the batter come together real smooth. If you just pull stuff from the fridge, your mix might kinda seize up and get lumpy, which you don’t want when you want that moist crumb.
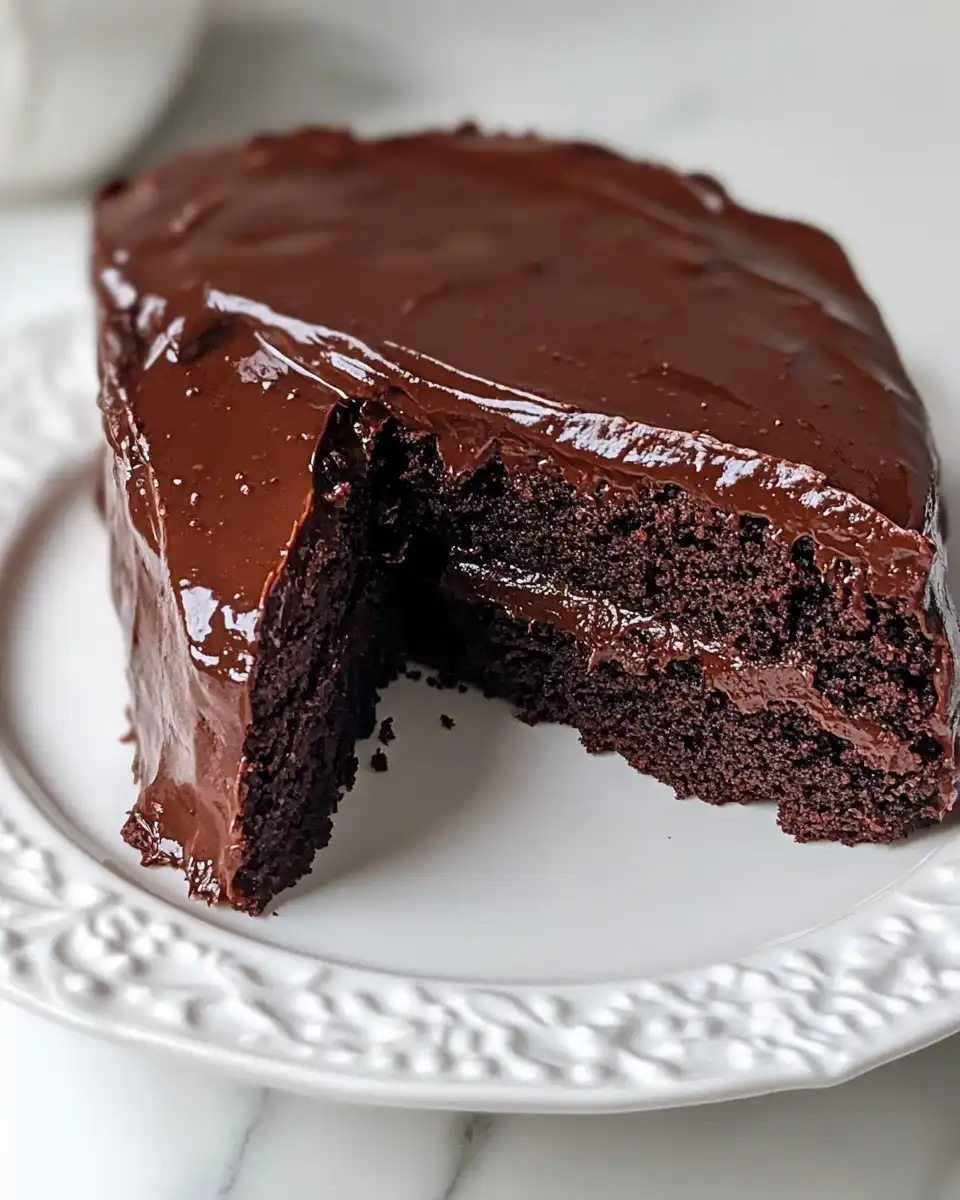
The Exact Process From Start to Finish
Step one: Preheat your oven to 350 degrees Fahrenheit. Grease your two 9-inch cake pans real good or line them with parchment paper so your cake don’t stick when it’s time to flip.
Step two: In your biggest mixing bowl, whisk together all the dry ingredients: the flour, sugars, cocoa, baking soda, baking powder, salt. Mix until everything looks even and fluffy.
Step three: Pour in buttermilk, coffee, and vegetable oil to the dry mix. Stir gently till the batter is all smooth. No lumps, you want that nice silky flow.
Step four: Crack in the eggs one by one, mixing after each addition. Then add vanilla. This is where the flavor starts deepening.
Step five: Pour that batter evenly into the two pans. Use a spatula to smooth the tops so the cakes bake real evenly.
Step six: Bake for 30 to 35 minutes, until the toothpick test comes out clean. You’ll see the steam cues through your oven window, and your nose catches that sweet scent.
Step seven: Let the cakes cool 10 minutes in the pans before carefully flipping them out onto a wire rack to cool completely. Don’t rush the cooling; it’s key for that perfect texture before you frost.
Time Savers That Actually Work
- Prep ingredients night before: Mix your dry ingredients together and store in an airtight container. Next day, just add wet stuff and eggs.
- Use room temp substitutions: If you forgot to pull buttermilk, add vinegar to milk. This works great and saves a stop at the store.
- Quick release steam: Once cake is done baking, carefully use quick release to lower pressure in your cooker so you don’t keep baking it further unintentionally.
That First Bite Moment
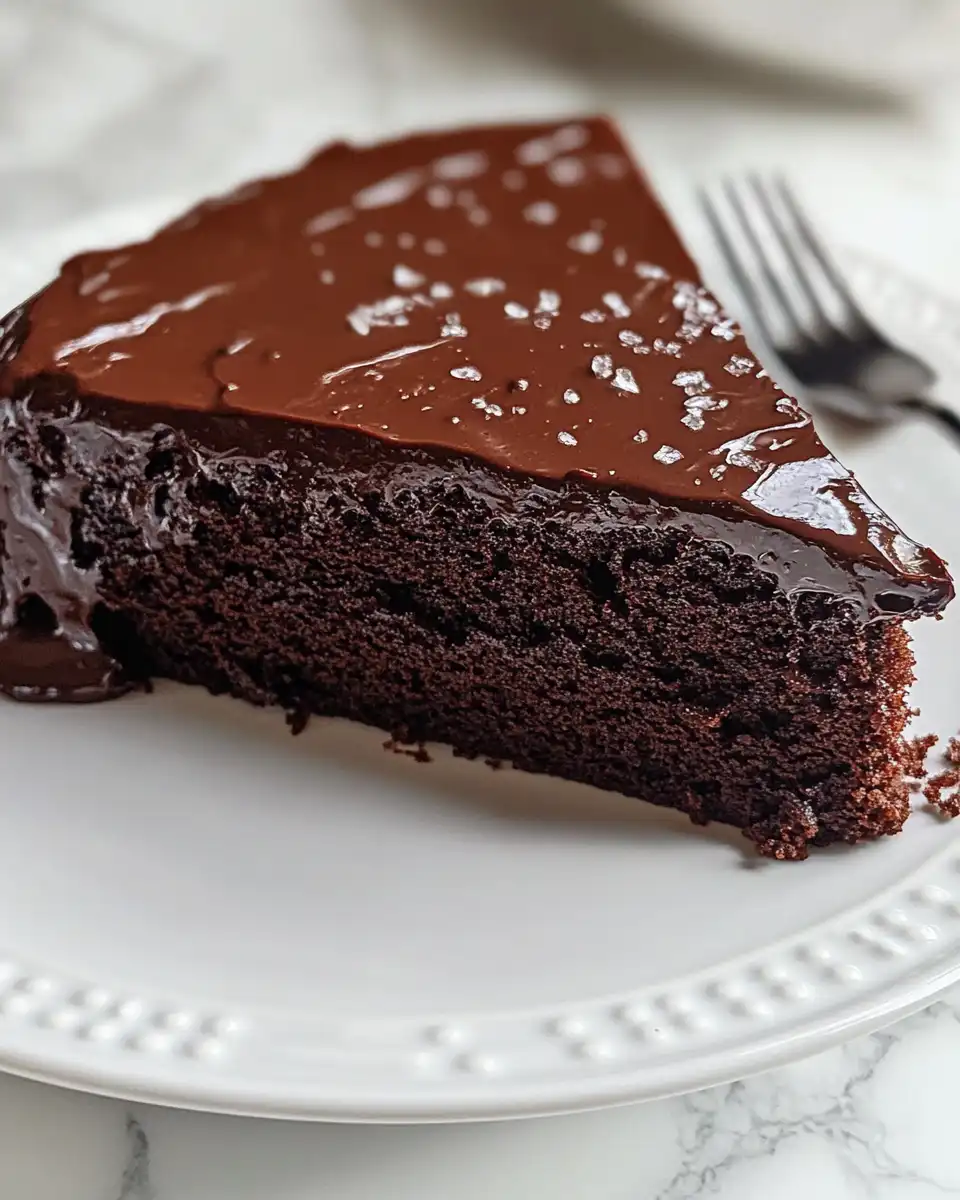
You bite and that rich chocolate taste just floods your mouth. It’s deep, kinda bittersweet but smooth, no dry crumb in sight. The moist texture feels like a soft cloud melting slowly.
The frosting is creamy and sweet, blending perfectly with the chocolate undertone. You catch little bursts of chocolate chips inside, adding gooey warm spots that surprise your tongue.
You sense how every part of this recipe was worth the wait. It’s real, it’s satisfying, and every bite’s that hug you need after a long day.
Making It Last All Week Long
If you wanna keep this cake awesome for later, wrap individual slices tightly in plastic wrap. This keeps out air that dries cake fast.
Another way is store whole cake in an airtight container at room temp, but only if your kitchen’s not too hot or humid. Otherwise, fridge’s your friend.
For longer storage, pop slices in freezer. Use freezer bags and press air out. When ready to eat, thaw at room temp or gently warm in microwave for soft texture.
Your Most Asked Questions Answered
- Can I use regular milk instead of buttermilk? Yes you can, but add a teaspoon of vinegar or lemon juice to milk to mimic that buttermilk tang. It helps your cake rise better.
- Do I need to grease my cooker pot? If you’re baking inside the pressure cooker itself with a pan, yes. Just a little oil or butter works well to prevent sticking.
- How do I know when pressure is right? Look for the float valve to pop up and the steam cues escaping just right. That means pressure build is good.
- Can I add nuts or chocolate chunks? Sure thing. Fold them in last so they’re not sinking to the bottom.
- What’s the best way to cool cakes? Leave them in pans 10 minutes, then transfer to wire rack. Don’t cover while warm or condensation ruins the texture.
- Is quick release safe for cakes? It is if done carefully. Slow and steady quick release avoids cracks or soggy tops that sudden pressure change might cause.
For recipes that pair well with these bars and more pressure cooker tips, be sure to check out our Pressure Cooker Cannoli Cheesecake Bars Recipe and Cinnamon Apple Fritters posts for easy and tasty meal ideas.
Rich and Moist Chocolate Cake
Equipment
- 1 Mixing bowl
Ingredients
Cake and Frosting Ingredients
- 2 cups all-purpose flour
- 1 ⅓ cups granulated sugar
- 1 cup brown sugar
- 1 cup cocoa powder
- 2 ½ teaspoons baking soda
- 2 teaspoons baking powder
- 1 teaspoon salt
- 1 ¼ cups buttermilk at room temperature
- ¾ cup coffee at room temperature
- ⅔ cup vegetable oil
- 3 eggs at room temperature
- 1 tablespoon vanilla extract
- 2 cups unsalted butter at room temperature
- 2 cups powdered sugar
- 1 cup cocoa powder for frosting
- ½ teaspoon salt for frosting
- 2 cups chocolate chips
- ¼ cup honey
- ¼ cup heavy cream
- 1 teaspoon vanilla extract for frosting
Instructions
Instructions
- Preheat your oven to 350°F (175°C). Grease your two 9-inch cake pans or line them with parchment paper.
- In a large mixing bowl, whisk together all dry ingredients: flour, granulated sugar, brown sugar, cocoa powder, baking soda, baking powder, and salt.
- Add buttermilk, coffee, and vegetable oil to the dry mix. Stir until smooth.
- Add eggs one at a time, mixing after each addition. Stir in vanilla extract.
- Divide the batter into the pans. Smooth the tops and bake for 30–35 minutes or until a toothpick comes out clean.
- Let cakes cool in pans for 10 minutes, then turn out onto wire racks and cool completely before frosting.



