










That first hiss from the cooker tells you something good is happening. You remember that sound loud and proud, a signal that pressure build is really going to work its charm on your dessert. It’s kinda like a promise that what you’re making is about to get way better than you hoped.
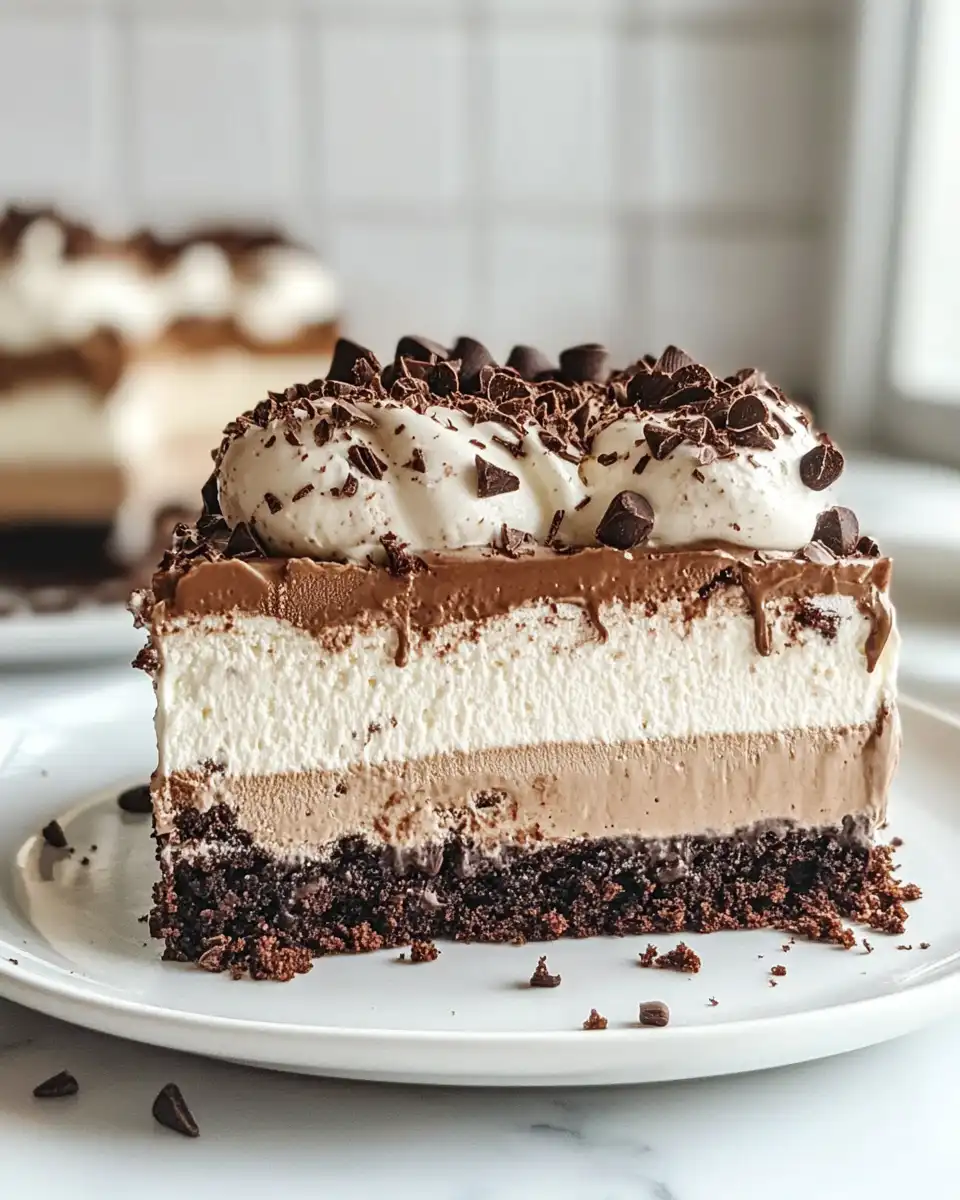
When you hear that valve hiss, your heart kinda races cause you know everything inside is heating up fast. The steam cues start to fill the kitchen with a smell that’s so rich and inviting, it’s sort of a preview for the mocha brownie ice cream cake you’re about to enjoy.
You notice how the pressure cooker lets you lock in that broth depth and flavor in the brownie, making it moist and tender way quicker than any regular oven would. It’s almost like it’s working harder so you don’t have to, and honestly that’s a win in my book.
The Truth About Fast Tender Results
- Pressure build speeds up the cooking process, cutting your baking time down a bunch.
- You get brownie edges that stay soft yet have a nice crust.
- The steam cues inside keep heat even so no burnt spots here.
- Moisture stays locked in, making the brownie super tender.
- Reduces waiting time, so you enjoy dessert sooner.
- Less guesswork with heat levels thanks to the valve hiss guidance.
- Cooks evenly even if you’re not perfect with placement.
For other quick and delicious dessert recipes, take a peek at our Pressure Cooker Cannoli Cheesecake Bars Recipe and our Brownie Bite Gnomes Recipe for more chocolatey treats.
What Goes Into the Pot Today
- 1 box brownie mix, your base that’s gonna soak up all that mocha flavor.
- ¼ cup brewed espresso or strong coffee, the real hero for that mocha punch.
- 1 quart coffee ice cream, softened just right so it spreads easily.
- 1 cup heavy whipping cream, for that fluffy, creamy layer.
- 2 tablespoons powdered sugar, sweetens the whipped cream just enough.
- ½ teaspoon vanilla extract adds a little warmth and depth to the cream.
- ¼ cup chocolate syrup for drizzling, it’s like the cherry on top of the party.
- 1 tablespoon cocoa powder optional, but it looks fancy sprinkled on top.
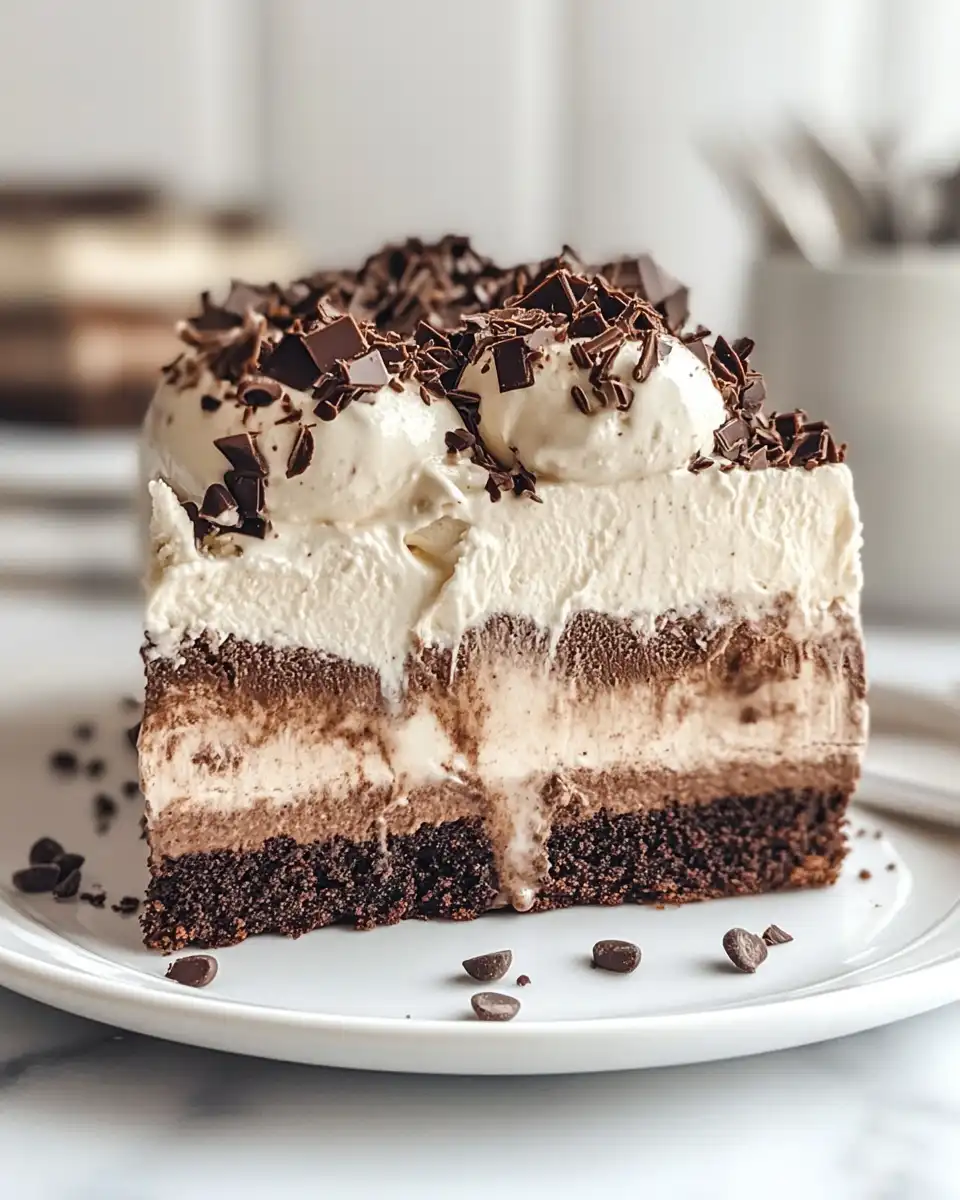
These ingredients come together to build layers you’ll wanna dig into right away. You know you’re adding espresso instead of water to the brownie mix which gives it that bold coffee flavor inside every bite. The softened ice cream layer keeps things cool and creamy while the whipped cream spreads a cloud of sweet goodness right on top. Finish it off with chocolate syrup drizzle and a sprinkle of cocoa powder and you got yourself a dessert that’s not just tasty but kinda special.
Walking Through Every Single Move
Step one you gotta preheat your oven cause the brownie will bake outside the pressure cooker part. Follow the brownie box instructions but swap the water for brewed espresso, so you get that deep mocha flavor baked right in.
Next grab a springform pan and pour in that brownie batter. It’s important the pan fits your oven and you spread it evenly so it bakes just right. Bake according to the box but keep an eye on it so you don’t end up with dry edges.
Once it’s done, you gotta let it cool completely, no rush or the ice cream layer won’t smooth out properly. Then spread the softened coffee ice cream evenly over the brownie base. This cool layer kinda balances the warm, rich brownie and makes the whole thing a treat you don’t wanna miss.
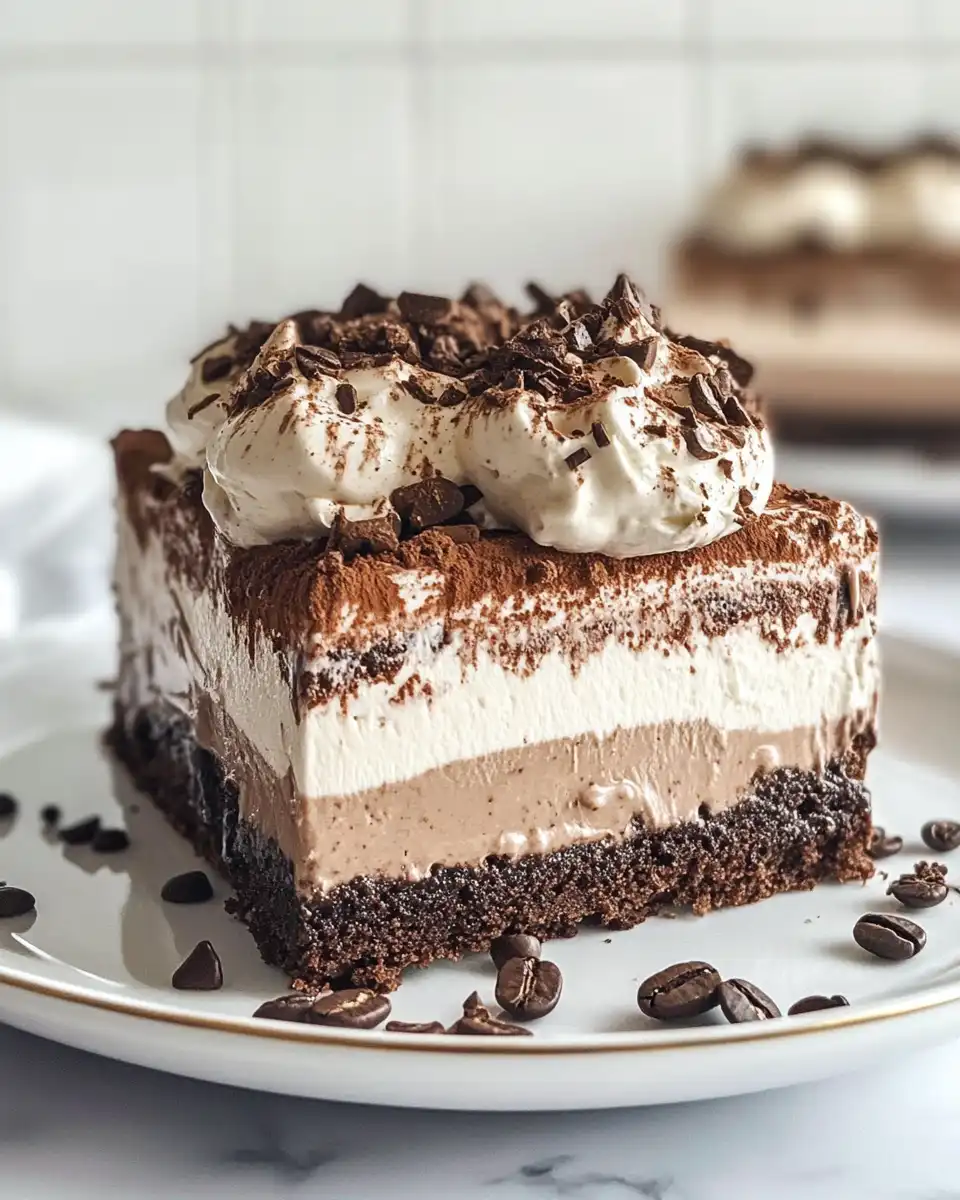
Freeze this for at least 2 hours until it’s firm. Meanwhile, whip the heavy cream with powdered sugar and vanilla until you see stiff peaks. This whipped cream is gonna add a fluffy texture that pairs real good with the dense ice cream and brownie layers.
Spread that whipped cream on top the frozen ice cream layer. Don’t be shy, cover it well because this is the bit that keeps everything luscious and soft.
Finally, drizzle the chocolate syrup on top and sprinkle cocoa powder if you want. Freeze the whole cake for another hour before serving so all the layers set perfectly. Then slice it up and dig in – you’re gonna love this.
Smart Shortcuts for Busy Days
- Use store-bought brownie mix to skip the complicated baking steps.
- Swap fresh espresso with leftover strong coffee if you’re out of espresso handy.
- Soften ice cream quickly by placing it in a bowl at room temp for 20 minutes instead of waiting long.
- Whip cream with powdered sugar and vanilla using a hand mixer to save effort and get fluffy fast.
- Make the brownie layer a day ahead so the cake pulls together quickly when you’re ready.
For time-saving baking tips and dessert ideas, check out our Classic Homemade Orange Candy Recipe and Gordon Ramsay Sticky Toffee Pudding Recipe to get inspired.
What It Tastes Like Fresh From the Pot
Right after the brownie comes out rich and warm with a deep mocha flavor that kinda surprises you with its smoothness. It’s tender on the inside but still has a slight crust that tells you it’s done right.
The coffee ice cream adds a creamy cold layer that melts slowly as you eat, giving a perfect balance against the warm cake below. You feel the coffee notes again but in a smooth, mellow way that cools down the rich chocolate.
The whipped cream topping is light and airy with just the right sweet touch from the powdered sugar and vanilla. Combined with the chocolate syrup drizzle, it’s a flavor party in your mouth that’s rich but not overwhelming.
How to Store This for Later
Wrap leftover slices tightly in plastic wrap to prevent freezer burn and keep flavors fresh. You wanna seal it good so it don’t pick up any weird fridge smells.
Place the wrapped pieces in an airtight container or freezer bag for extra protection. Keep it in your freezer, and it’ll be good for up to two weeks.
To enjoy later, thaw the slices in the fridge for a few hours rather than leaving them out at room temp. This helps keep the ice cream layer stable.
If you want a quick serve, you can microwave the cake for 10-15 seconds on low power just to soften the brownie slightly without melting the ice cream entirely.
The FAQ Section You Actually Need
- Can I use regular coffee instead of espresso? Yes, as long as the coffee is strong it’ll work. Just keep in mind espresso brings a richer flavor.
- Do I have to bake the brownie in the pressure cooker? No, this recipe asks you to bake it in the oven first. The pressure cooker helps lock in moisture if you tried a different method but the oven bake gives the best structure.
- Can I substitute the coffee ice cream? Sure, you can use a vanilla or chocolate ice cream but the coffee flavor pairs best with mocha.
- How long can I keep the cake frozen? Up to two weeks wrapped well and kept airtight in the freezer.
- Is it better to use slow release or quick release? Slow release is best if pressure was used because it keeps the brownie tender and prevents sudden texture changes.
- Can I add extra chocolate chips to the brownie mix? You totally can, just fold them into the batter before baking for some extra chocolatey fun.
Mocha Brownie Ice Cream Cake
Equipment
- 1 Springform pan Ensure it fits your oven
Ingredients
Main Ingredients
- 1 box brownie mix
- ¼ cup brewed espresso or strong coffee
- 1 quart coffee ice cream softened
- 1 cup heavy whipping cream
- 2 tablespoons powdered sugar
- ½ teaspoon vanilla extract
- ¼ cup chocolate syrup for drizzling
- 1 tablespoon cocoa powder optional
Instructions
Instructions
- Preheat your oven according to the brownie box instructions and swap water with brewed espresso for mocha flavor.
- Pour brownie batter into a springform pan and bake as directed. Let cool completely.
- Spread softened coffee ice cream evenly over the cooled brownie base.
- Freeze the cake for at least 2 hours until the ice cream is firm.
- Whip heavy cream with powdered sugar and vanilla until stiff peaks form.
- Spread whipped cream over the frozen ice cream layer.
- Drizzle with chocolate syrup and sprinkle cocoa powder if desired. Freeze another hour before serving.



