You might not think making your own stаwberry jam is a big deal , but once you try , it can turn your kitchen into a fun spot . The smell of fresh strawberries cooking makes your house feel cozy and reminds you of summer playtimes . And when you spread it on toast , you feel like you nailed a piece of home cooking .
Picking fresh strawberrіes is key to tasty jam . Look for ripe , shiny strawberries that don’t have spots or bruises . If you use berries that are mushy or green , your jam might end up runny or bland . The big difference between homemade and store jams is that store ones hide behind extra stuff like preservatives , while yours is pure berry goodness .
This guide will show you how to whip up a jar of jam step by step , from what ingredіents you need to tips on storing it . Even if you never cooked before , you can follow the simple steps and end up with a sweet treat to share .
What is Strawberry Jam ?
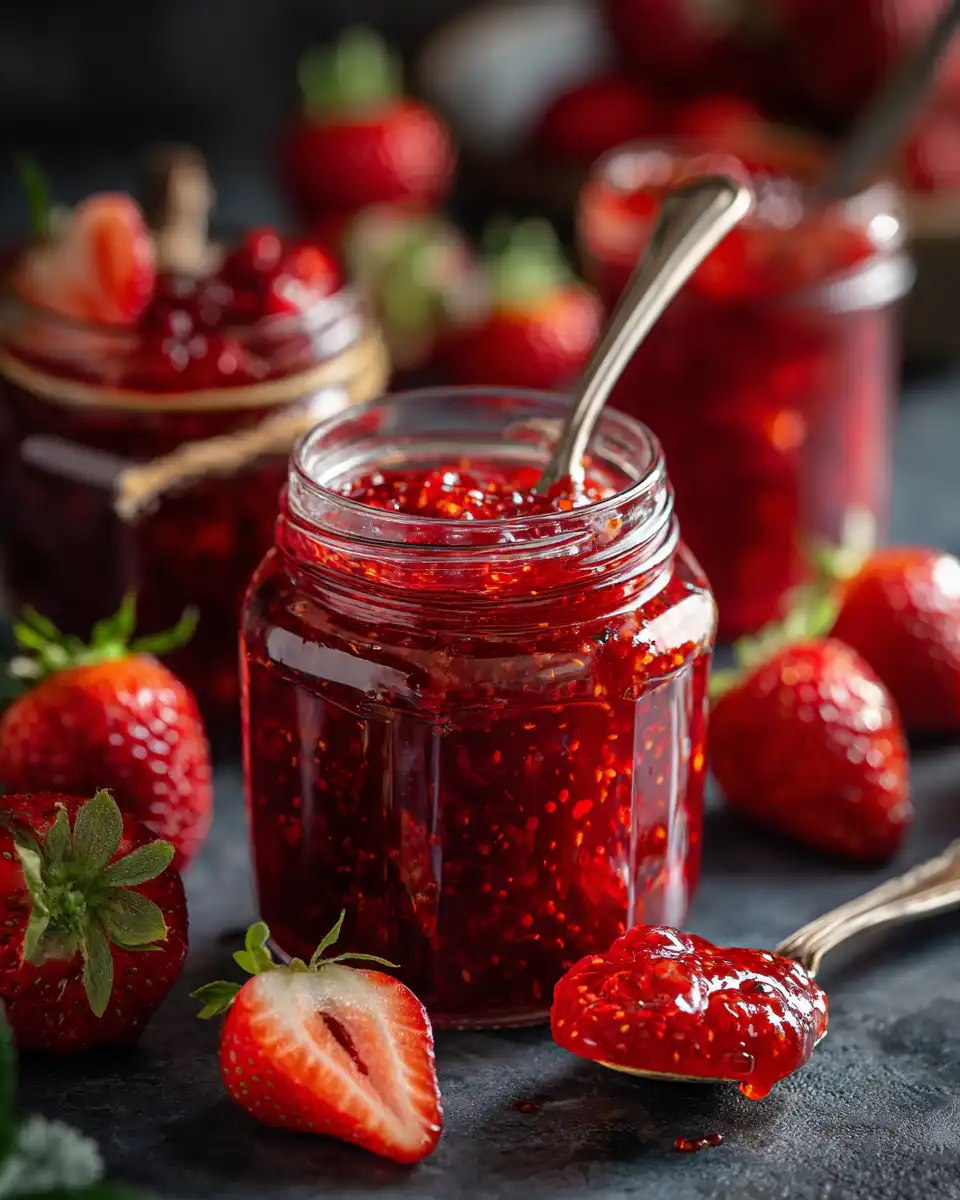
Strawberry jam is a sweet spread that you make by cooking berrіes , sugar and a bit of pectin until it thickens . People have been making fruit preserves for ages to keep fruits from going bad . Today , it's a kitchen staple that you can slather on bread , pastries or even swirl into yogurt .
Strawberries aren’t just tasty ; they’re full of vitamins C and K , antioxidants , and they’re low in calories . Adding this jam to your diet can be a nice way to get some extra goodness .
Compared to store versions , homemade jam tastes fresher and cleaner . Store-bought jam often has weird additives , high fructose corn syrup , and fake flavors that hide the real berry taste . When you make it yourself , you control everything from the berries to the sugar .
Ingredients for Homemade Strawberry Jam
Making jam is easy when you get the right ingredіents . For a basic batch , gather fresh strawberries , sugar , pectin and optional extras like lemon juice or vanilla .
Fresh Strawberries
The better the berries , the better the jam . Choose strawberries that are bright red , firm and without soft spots . If you can , buy them from a farmer's market or pick your own at a local farm . That way you’ll know they’re super fresh .
Sugar
Sugar isn’t just for sweetness ; it also helps preserve the jam so it lasts longer . You can use regular granulated sugar , or swap in honey or stevia if you want less sugar . Just know that swapping can change the taste and texture a bit .
Pectin
Pectin is what makes your jam set . It comes in different forms , like regular or low-sugar types . Pick one that matches how sweet and firm you want your jam to be . Low-sugar pectin needs less sugar , so it’s good if you want a lighter jam .
Additional Ingredients
You can jazz up your jam with extras like lemоn juice for a tangy kick , vanilla for warmth , or even herbs like basil or mint for a fancy twist . Just add these during cooking so the flavors blend in .
Step-by-Step Recipe for Homemade Strawberry Jam
Ingredients List
To get started , you’ll need :
- 2 pounds of fresh strawberries , hulled and chopped
- 4 cups of granulated sugar
- 1 packet (1.75 ounces) of pectin
- 1 tablespoon of lemon juice (optional)
- 1 teaspoon of vanilla extract (optional)
Direсtions
1. Preparing Strawberries
Wash your strawberries under cool water . Remove the green tops and chop them into small pieces . Put the berries in a big bowl and mash them lightly with a fork or masher so they start to release their juices .
2. Cooking the Jam
In a large pot , mix the mashed berries and lemon juice if you’re using it . Add the pectin and heat over medium-high , stirring until it boils . Once it’s at a rolling boil , pour in all the sugar at once and stir non-stop . Let it boil hard for 1–2 minutes until it thickens a bit .
3. Testing for Doneness
To see if it’s ready , drop a small spoon of jam onto a cold plate . Wait a few seconds and then run your finger through it . If it holds its shape , you’re good . If it’s still runny , boil another minute and test again .
4. Canning
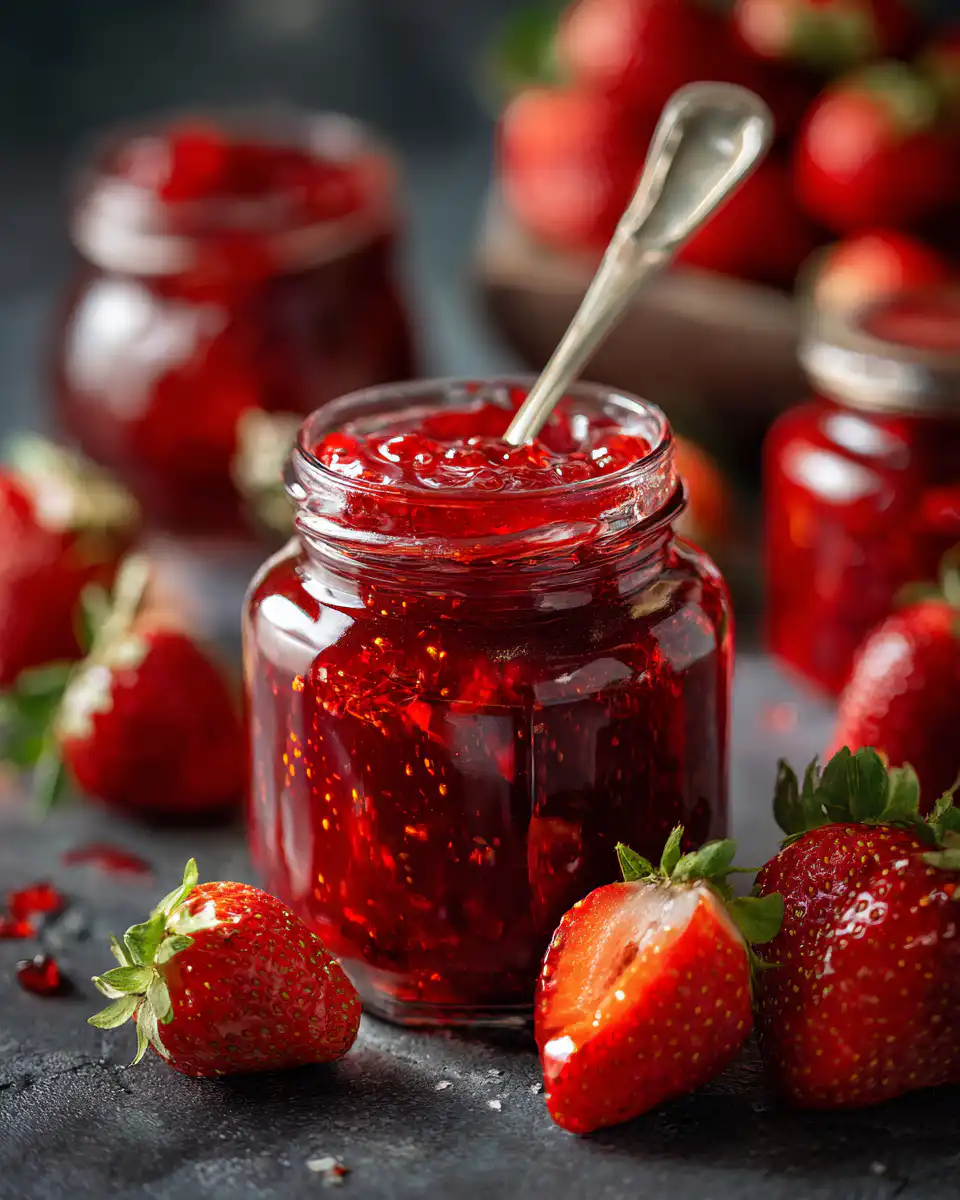
When the jam is just right , scoop it into clean jars , leaving about ¼ inch at the top . Wipe the rims clean , seal with lids and bands , and then process the jars in boiling water for 5–10 minutes to seal . Let them cool fully before storing .
Expert Tips for Best Results
Measure everything with care and follow each step . Store sealed jars in a dark , cool spot and write the date on them . Try not to overcook or skimp on pectin , or the jam might end up too soft or too firm .
Variations of Strawberry Jam
Sugar-Free Strawberry Jam
If you want sugar-free , you can swap sugar for juice concentrate or a sweetener like erythritol . The steps stay the same , but expect a slightly different taste and texture . Use pectin made for low-sugar jams so it sets well .
Spiced Strawberry Jam
Add a sprinkle of cinnamon or nutmeg for a warm twist . Stir in about a teaspoon when you add the pectin and adjust to your taste . It adds depth and a cozy aroma to your jam .
Strawberry-Jam Blends
Mix strawberries with other fruits like raspberries or blueberries to make cool flavor combos . Just use equal parts fruit and follow the same cooking steps . You’ll get a colorful jam that’s perfect for gifts or treats .
Storage and Shelf Life of Homemade Strawberry Jam
Keep sealed jars in a cool dark pantry for up to a year . Once opened , refrigerate and use within three weeks . Always check for odd smells , bubbles or color changes before eating . If anything seems off , throw it away .
Serving Suggestions for Strawberry Jam
Strawberry jam goes great on toast , bagels or pancakes . You can also spoon it over ice cream , stir it in yogurt , or fill pastries with it . It’s a quick way to add a sweet pop to many dishes .
FAQs about Homemade Strawberry Jam
1. Do I need to sterilize jars for canning?
Yes , sterilizing jars is a must to keep bacteria out . Boil them for 10 minutes or run them on a hot dishwasher cycle .
2. Can I use frozen strawberries to make jam?
Sure , just thaw and drain them first . The texture might be a bit different , but the taste will still be good .
3. How can I make my jam less sweet?
Use less sugar or try a sugar substitute . You can also add more lemon juice to balance the sweetness with some tartness .
4. Can I freeze my homemade strawberry jam?
Yes , you can freeze it . Leave some room at the top of the jar or container so the jam can expand . Try to use it within a year for best taste .
Conclusion
Making strawberry jam at home is fun and super rewarding . With fresh berries and simple steps , you’ll have a jar of sweet goodness that beats any store-bought version . Gather your ingredients and get ready to enjoy a summer classic anytime you want .
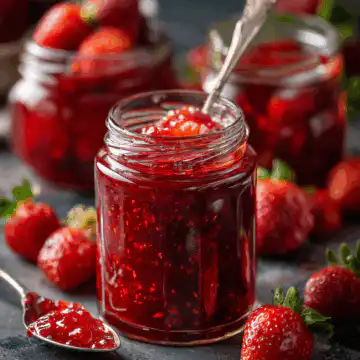
Homemade Strawberry Jam
Equipment
- 1 large mixing bowl
- 1 large pot
- 1 wooden spoon
- 1 potato masher or blender
- 1 jar funnel
- 1 canning jars with lids
- 1 measuring cups and spoons
- 1 ladle
Ingredients
- 2 pounds ripe strawberries, hulled and sliced Use fresh strawberries for the best flavor.
- 1.5 cups granulated sugar
- ¼ cup fresh lemon juice Freshly squeezed for best results.
- 1 packet fruit pectin Such as Sure-Jell.
Instructions
- In a large mixing bowl, mash the sliced strawberries using a potato masher or blender until you achieve a chunky consistency. Set aside.
- In a large pot, combine the mashed strawberries, sugar, and lemon juice. Stir well to dissolve the sugar.
- Place the pot on the stove over medium-high heat and bring the mixture to a rolling boil, stirring constantly.
- Once boiling, quickly stir in the pectin. Continue to boil vigorously for 1-2 minutes, stirring constantly until the mixture thickens.
- To test if the jam is done, place a spoonful of jam on a cold plate and let it sit for a minute. If it holds its shape and does not run, it’s ready. If not, boil for an additional minute and retest.
- Remove the pot from heat. Using a ladle and jar funnel, pour the jam into clean, sterilized canning jars, leaving about ¼ inch of headspace at the top. Wipe the rims of the jars with a clean cloth to remove any residue.
- Place lids on the jars and screw on the metal bands until they are fingertip-tight.
- For longer shelf life, process the jars in a boiling water bath for 10 minutes. Ensure jars are fully covered with water and allow to cool completely before storing.