










The pot lid rattles and you know dinner is almost ready. That sound kinda gets you excited because it means all those delicious smells are closing in. You sense the broth depth rising, steam cues signaling that everything inside is cooking real good.
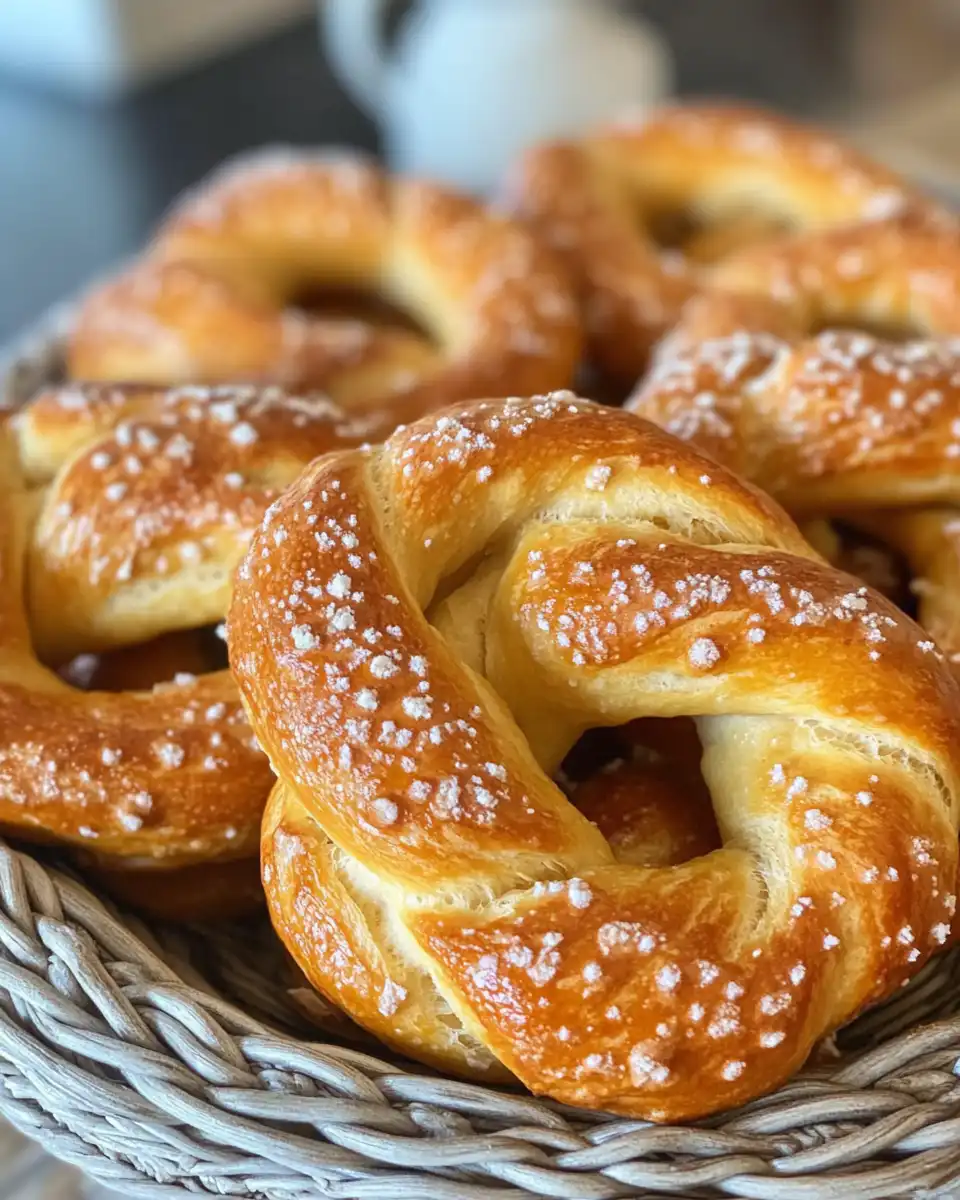
At this point you start to imagine what your soft pretzels and pretzel bites will taste like. You can almost smell the buttery goodness melting over that golden crust. The float valve on your pressure cooker keeps doing its thing, reassuring you that the heat's just right.
Now you gotta stay patient for just a bit more. That slow release after the cooking time makes sure your pretzels come out perfectly soft, not chewy. The sealing ring holds everything tight, locking in all the wonderful flavors you’re about to enjoy.
What Makes Pressure Cooking Win Every Round
- Pressure cooking locks in moisture for super soft pretzels like no other method.
- It cuts down cooking time drastically, so your snack game is on point fast.
- Using steam cues and the float valve helps you get perfect results every time.
- The sealed environment keeps flavors intense and butter melts right in.
- You don’t gotta babysit the dough while it cooks; it’s mostly hands-off.
Pressure cooking soft pretzels also benefits from easy cheesecake recipes that are simple and fun to make, and layered desserts like chocolade lasagne that show how versatile your cooker can be.
Don’t forget to check tips on pressure cooker benefits and techniques to get even better snack results.
What Goes Into the Pot Today
Alright, here’s what you gonna need to get these soft pretzels off the ground. Start with 2 ¼ teaspoon active dry yeast, that’s basically one standard packet. It wakes up the dough and makes it rise nice.
You gotta have 1 cup warm water to dissolve the yeast so it gets nice and foamy. Then 1 tablespoon unsalted butter, melted, gives some softness to the dough. Sugar and salt, both 1 teaspoon each, flavor the base just right.
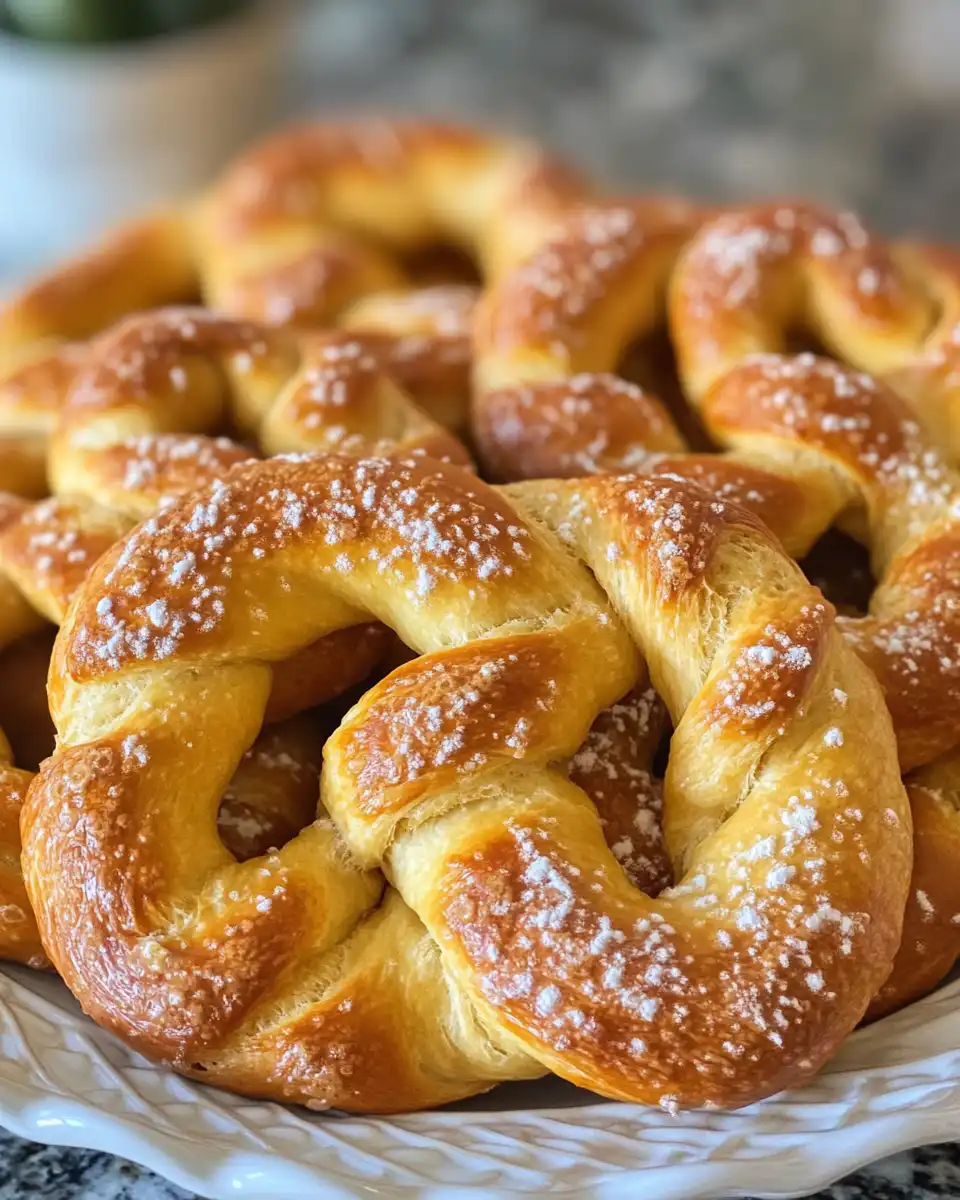
The flour is 3 cups all-purpose to start with, but keep up to ¾ cup extra nearby in case your dough gets sticky. 2 cups water and 2 tablespoons baking soda are for the bath that gives pretzels their signature bite.
Last touch is 1 tablespoon coarse salt for sprinkling on top after you brush your warm pretzels with 6 tablespoons melted salted butter. That buttery finish is what you’ll notice first.
Your Complete Cooking Timeline
First up, in a large bowl you dissolve the yeast in that cup of warm water. Gotta let it sit for 5 minutes till it’s all foamy and alive.
Then you stir in your one tablespoon melted unsalted butter, sugar, and salt. Gets everything mixed nicely for the dough.
Gradually add in your 3 cups of flour, mixing till it turns into a dough. If it feels too sticky, toss in a little more flour, but not past ¾ cup.
Next, turn the dough out onto a floured spot and knead for 5 to 7 minutes until it’s smooth and elastic. Feels kinda nice to work with that soft dough in your hands.
Pop it into a greased bowl, cover it up, and let it rise somewhere warm for about an hour or till it doubles. This part's key for fluffy pretzels.
Preheat your oven to 400 degrees Fahrenheit and line some baking sheets with parchment paper so nothing sticks.
Make a baking soda bath by boiling 2 cups water with 2 tablespoons baking soda in a large saucepan. Lower to simmer once it boils.
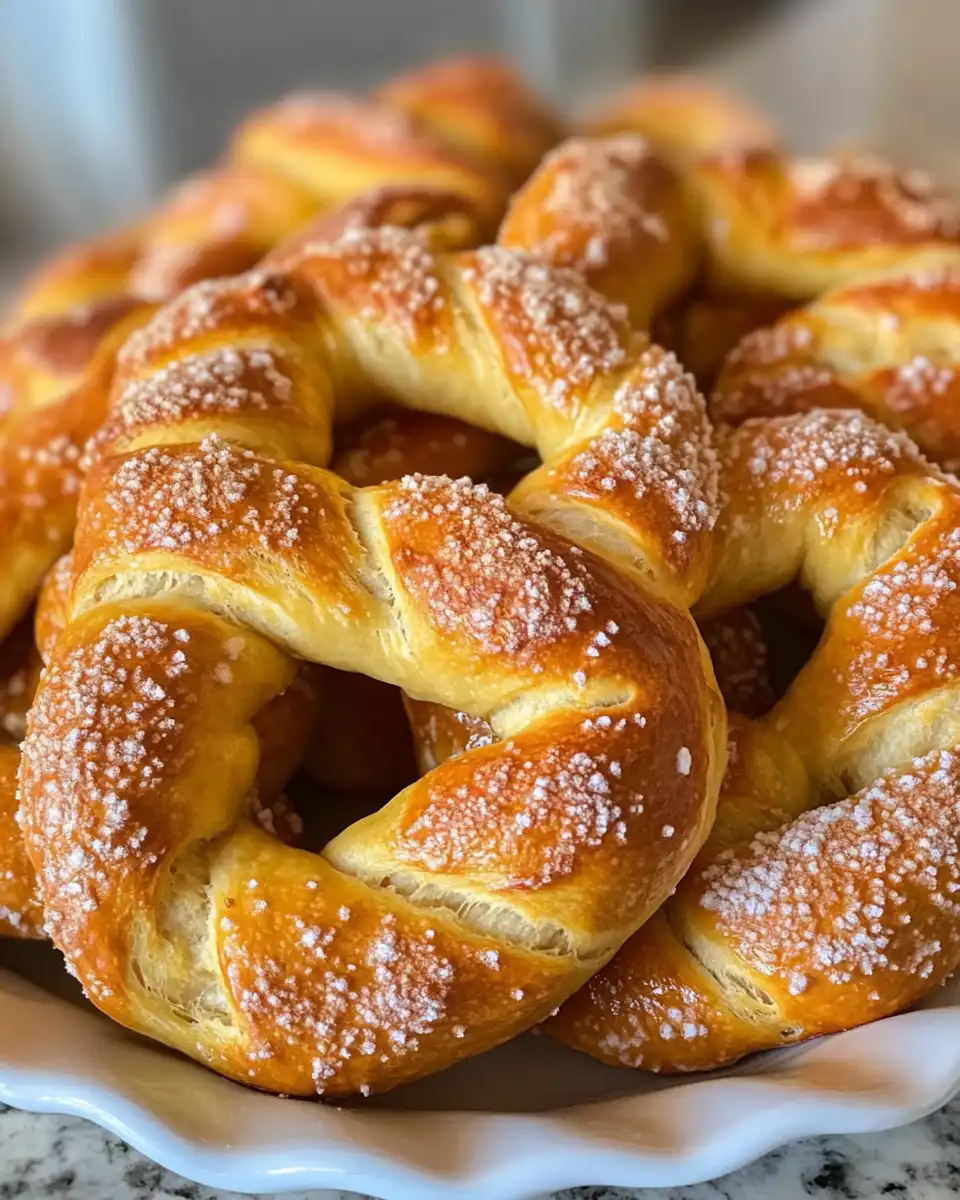
Punch down the dough, cut into pretzel shapes or bites. Dip each piece quickly in the baking soda bath and place on your baking sheets. Bake for 12 to 15 minutes till nice and golden. Right from the oven brush with melted salted butter and sprinkle coarse salt on top. Serve warm and enjoy!
Quick Tricks That Save Your Time
- You can warm the water in your pressure cooker using the broth depth setting before adding yeast to speed up activation.
- Use the sealing ring as a reminder to check it’s snug — a loose ring can leak steam and slow cooking.
- Prep the baking soda bath while dough is rising to save time.
- Shape both pretzels and pretzel bites at the same time to switch up snacks without extra work.
- If short on time, the slow release can be shortened a little but watch for steam cues carefully so you don’t lose softness.
When You Finally Get to Eat
You bite into that soft pretzel and feel the buttery crust give just right under your teeth. The salt crystals crunch a little and you notice how they balance the rich butter perfect.
The aroma still lingers in the air, sweet and warm like freshly baked comfort. That smell kinda pulls you back to cozy evenings or fair snacks at a busy stand.
Each bite melts in your mouth with that soft chewy inside, and you realize it’s not just snack food—it’s a little celebration of simple goodness.
You feel grateful for the ease of making such a treat in your pressure cooker, and you know these pretzels gonna be your new obsession.
Making It Last All Week Long
If you don’t finish all your pretzels that day, no worries. Store them in an airtight container at room temp for up to 2 days before you notice any loss in softness.
To keep ‘em longer, pop ‘em in the fridge wrapped tightly in plastic wrap. They last about a week there but might need a quick reheat to get that soft texture back.
For freezer storage, wrap each pretzel or pretzel bite well and freeze up to 3 months. When you want one, just thaw and warm in oven or toaster oven to bring back that buttery feel.
Common Questions and Real Answers
Q: Why use baking soda in the water bath?
A: Baking soda gives the pretzels that classic shiny brown outside and a bit of tang. It’s super important for the texture and look.
Q: Can I skip the butter brushing?
A: You could but trust me the melted butter adds so much flavor and helps the coarse salt stick. Totally worth it.
Q: What’s the best way to shape pretzel bites?
A: Just roll dough into small logs and cut into bite-size pieces. Quick and easy, plus they cook fast.
Q: How do I know when the dough has risen enough?
A: It should be about double in size and kinda fluffy when you poke it lightly with your finger.
Q: Does the pressure cooker do all the baking?
A: Actually, the pressure cooker is used mainly for proofing and prepping the dough, but the final bake is in the oven. This way the crust gets golden and crunchy.
Q: What if my dough is too sticky?
A: Add a little more flour gradually until it feels less sticky but still soft enough to shape. It’s a fine balance you’ll get with practice.
For more pressure cooker recipes and tips, check out our pressure cooking benefits and explore treats like Easy Cannoli Cheesecake Bars Recipe or Chocolade Lasagne Recipe.
How to Make Easy Homemade Buttery Soft Pretzels and Pretzel Bites
Equipment
- 1 Mixing bowl Large, for combining dough
Ingredients
Ingredients
- 2 ¼ teaspoon active dry yeast 1 standard packet
- 1 cup warm water for dissolving yeast
- 1 tablespoon unsalted butter melted
- 1 teaspoon sugar
- 1 teaspoon salt
- 3 cups all-purpose flour + up to ¾ cup more if needed
- 2 cups water for baking soda bath
- 2 tablespoons baking soda
- 1 tablespoon coarse salt for sprinkling on top
- 6 tablespoons salted butter melted
Instructions
Instructions
- Dissolve the yeast in warm water and let sit for 5 minutes until foamy.
- Stir in the melted unsalted butter, sugar, and salt until combined.
- Gradually add flour, mixing into a dough. Adjust with more flour if dough is sticky.
- Knead the dough on a floured surface for 5–7 minutes until smooth and elastic.
- Place the dough in a greased bowl, cover and let rise for 1 hour until doubled in size.
- Preheat the oven to 400°F and line baking sheets with parchment paper.
- Boil 2 cups water with 2 tablespoon baking soda to make the soda bath, reduce to simmer.
- Punch down the dough and cut into pretzel shapes or bites.
- Dip each pretzel piece quickly in the soda bath and place on baking sheet.
- Bake for 12–15 minutes until golden brown.
- Remove from oven, brush immediately with melted salted butter.
- Sprinkle coarse salt over warm pretzels and serve immediately.



