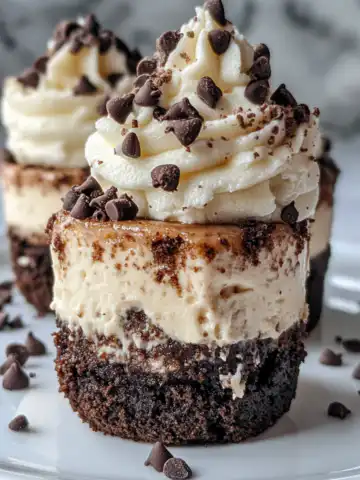
The pot lid rattles and you know dinner is almost ready. That sound kinda gets you excited because soon you get to dig into something sweet and warm. You catch that little hiss of the valve and it tells you everything's going as planned inside the pressure cooker.
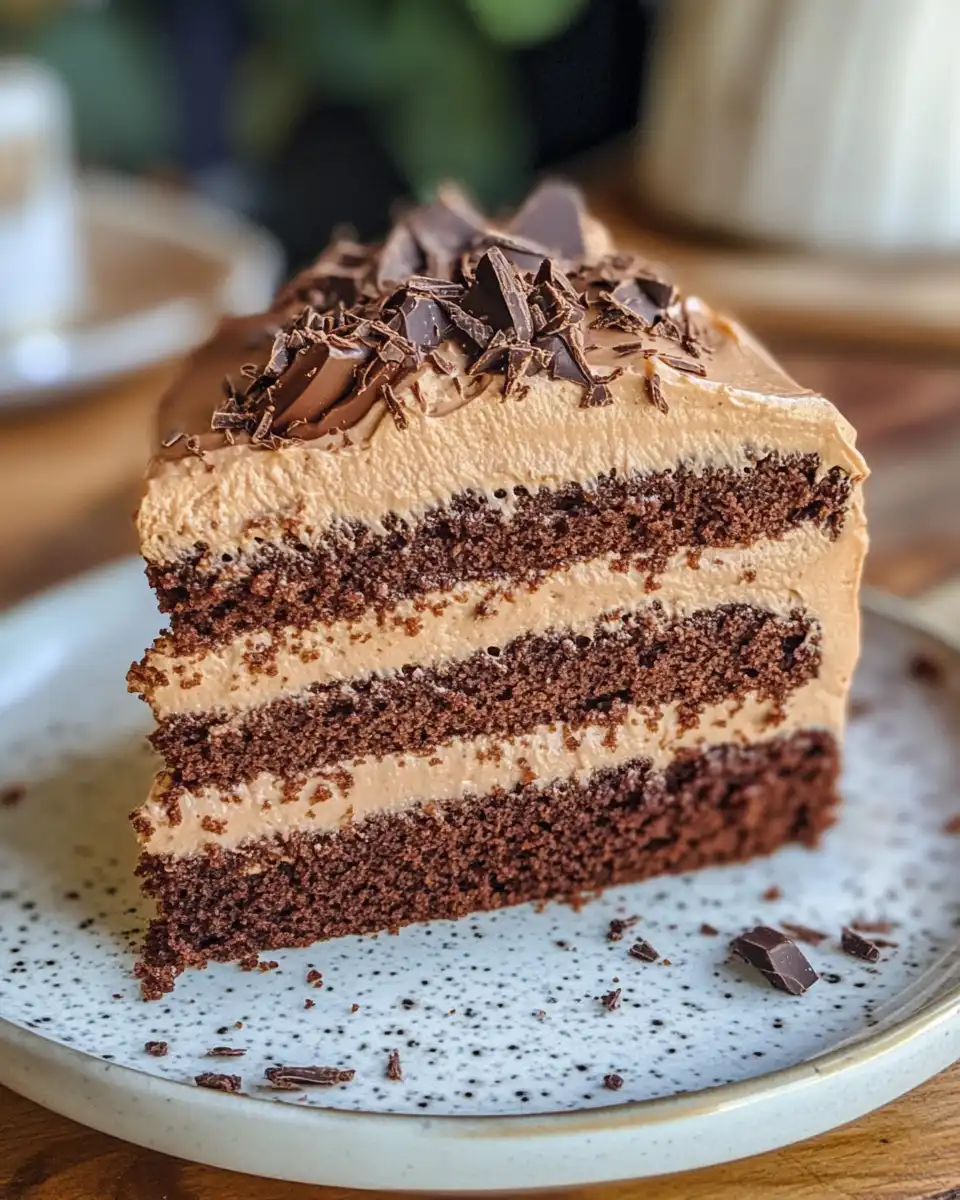
You remember how last time waiting felt endless but today it seems like the time just flew by. You sense the aroma of espresso and chocolate sneaking out, teasing your nose. It’s funny how a simple dessert can make your whole kitchen feel alive.
You notice the float valve popped up, so you gotta be ready for that quick release. Knowing when to handle that part makes all the difference. You can't wait to get that coffee cake out and see how it turned out, chocolate chips and all.
What Makes Pressure Cooking Win Every Round
- Cook your coffee cake fast without drying it out.
- Retains more moisture and rich flavors in every bite.
- Less heat in the kitchen so you stay cool while cooking.
- Quick release helps you control the finish perfectly.
- Compact setup means fewer dishes to clean after.
- That valve hiss is kinda like a little cooking timer you can trust.
- Natural release lets flavors settle in just right before you open it up.
Your Simple Ingredient Checklist
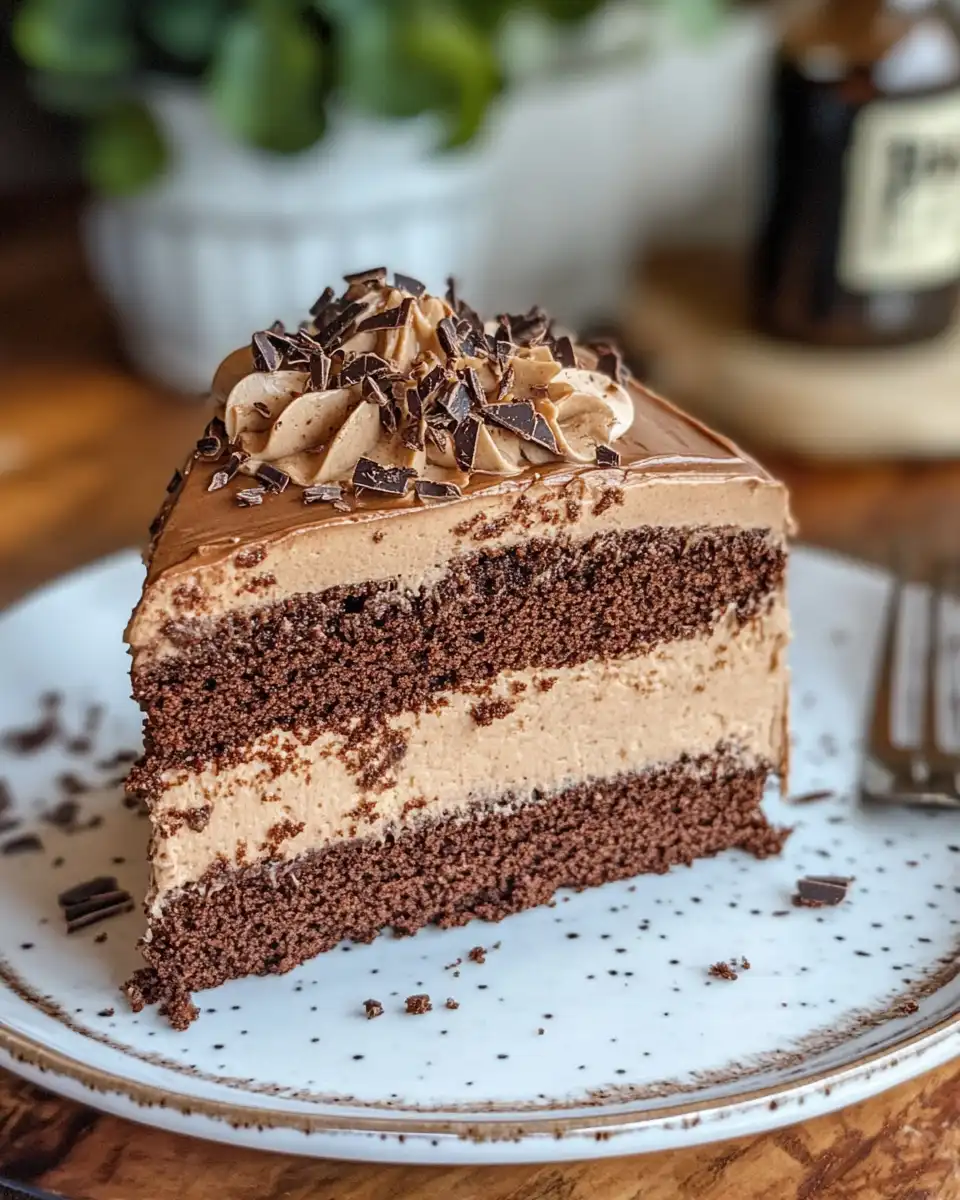
- 1 ½ cups all-purpose flour — the base for our cake texture.
- ½ cup unsweetened cocoa powder — gives that deep chocolate rush.
- 1 teaspoon baking powder — helps the cake puff up nice and soft.
- ½ teaspoon baking soda — works with the powder for the perfect rise.
- ¼ teaspoon salt — balances the sweetness and boosts flavor.
- ½ cup unsalted butter, softened — creamy richness that melts into every bite.
- 1 cup granulated sugar — sweetener that makes it all a treat.
- 2 large eggs — the glue holding everything together.
- ½ cup sour cream — adds moisture and a slight tang you gonna love.
- ¼ cup strong brewed espresso, cooled — wakes up the chocolate with a punch.
- ¼ cup Baileys Irish Cream — adds a cozy Irish twist that's just right.
- 1 teaspoon vanilla extract — for that sweet, warm aroma.
- ½ cup mini chocolate chips — little surprises in every slice.
Y'all see, each item here plays its part to give you the best coffee cake ever. Mixing those wet ingredients with the dry ones gotta be handled gentle so you don't overwork the batter. The espresso and Baileys bring a grown-up flavor that’s just kinda fun.
The Exact Process From Start to Finish
- Start by greasing and flouring an 8-inch round cake pan so nothing sticks later.
- Mix the flour, cocoa powder, baking powder, baking soda, and salt in a medium bowl — this dry mix is your cake’s backbone.
- Beat butter and sugar together in a big bowl till it’s light and fluffy, takes a few minutes but worth it.
- Add eggs one at a time to the butter mix, beating well after each, you wanna keep that smooth texture.
- Stir in sour cream, cooled espresso, Baileys, and vanilla until everything looks combined and velvety.
- Slowly add the dry ingredients in, mixing just enough so you don’t overmix. Then fold in the chocolate chips for little yum bursts.
- Pour batter in your prepared pan, smooth it out, set it inside your pressure cooker with a trivet and a bit of water beneath. Cook on high pressure for about 30 minutes with natural release following — watch that valve hiss and float valve rise as your cue for when to release.
After cooking, don’t rush, let cake cool in the pan about 10 minutes. Then pop it out gently onto a wire rack so it cools completely. That’s when you see the richness come alive.
Quick Tricks That Save Your Time
- Make your espresso ahead and keep it cold so you ready to mix fast when baking time comes.
- Use room temp butter and eggs — they blend better and faster, no lumps or chunks.
- Line your cake pan with parchment paper before greasing to make getting your cake out super easy.
- Use quick release right after cooking to cut down wait time but watch your fingers and keep a cloth handy.
These little hacks don’t just save time but make it easier to get your cake perfect. You’ll notice less fuss and more room to enjoy the whole baking dance.
When You Finally Get to Eat
The first slice you cut smells like a mix of rich chocolate and warm espresso whispering sweet nothings. The Baileys adds this creamy, kinda boozy hug that just makes it feel special.
Each bite melts into this tender, moist crumb that practically melts on your tongue. The mini chocolate chips kinda pop here and there and bring little happy surprises.
You feel the sour cream’s softness balancing the sugar’s sweetness, making every forkful smooth and kinda dreamy. That coffee depth really brings out the flavor without being too strong.
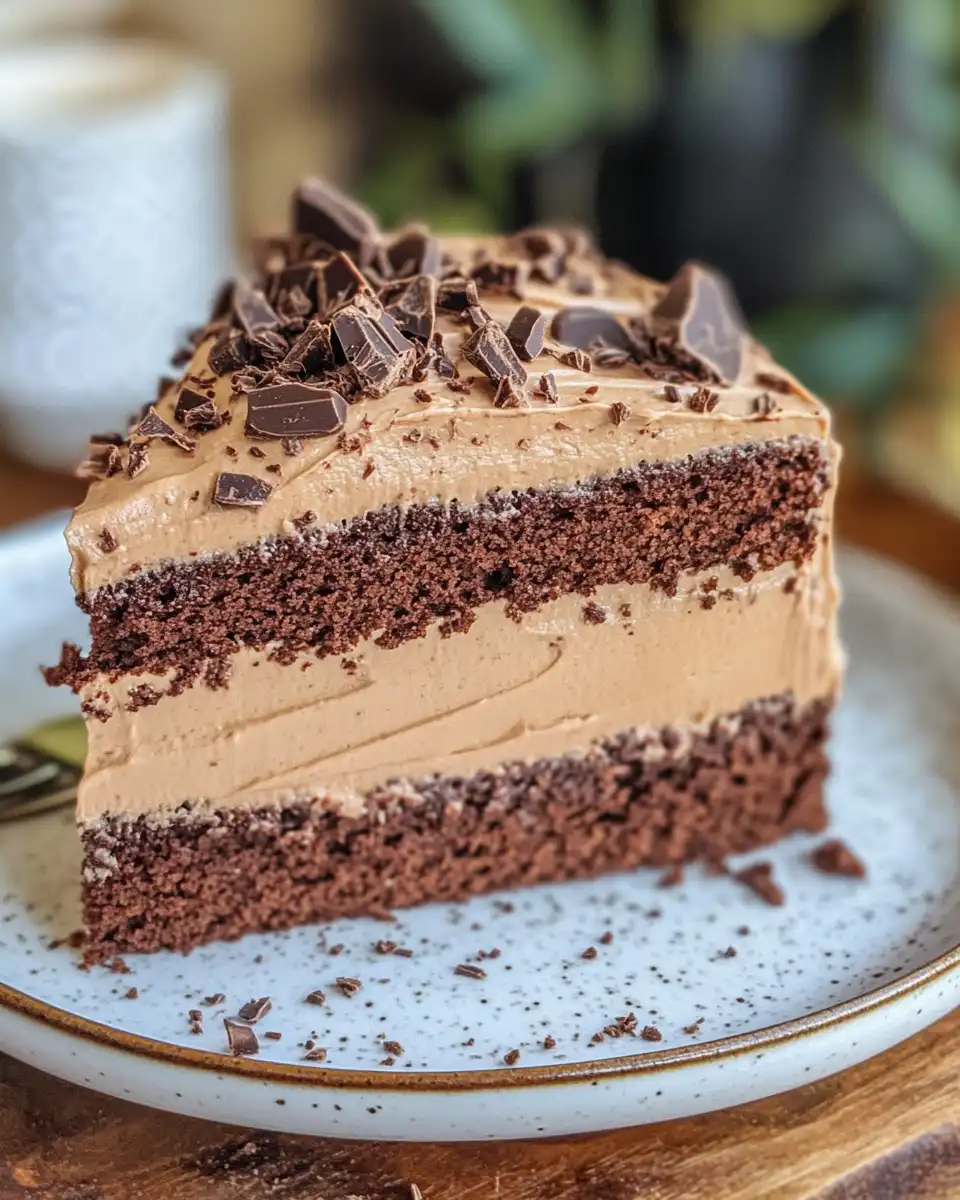
Sitting down with a hot cup of coffee or tea, the cake tastes even better. You catch yourself smiling because this cozy dessert feels like the perfect end to your day.
How to Store This for Later
- Wrap leftover cake tightly in plastic wrap or foil to keep air out and moisture in.
- Keep it in an airtight container in the fridge if you wanna enjoy it for a few days.
- For longer storage, slice and freeze portions wrapped in freezer paper or bags — thaw in the fridge overnight.
- Reheat gently in a microwave or toaster oven to bring back that fresh-baked softness.
Storing your cake right means you get to enjoy its rich flavors long after baking day. Just remember, this cake loves moisture, so keep it sealed up tight. Freezing slices works real good for y’all who like a little treat ready anytime.
Your Most Asked Questions Answered
- Can I skip the Baileys and still get a good cake? Sure, you can swap it with extra espresso or milk, but Baileys gives it that unique cozy flair you might miss.
- How long do I do quick release safely? Do the quick release just after natural release if the recipe calls for it. Use a towel or utensil, and stand back for that valve hiss to tell you it’s working.
- What if my float valve doesn’t pop up? That usually means pressure hasn’t built enough. Check your seal and liquid inside. If it still won’t pop, your cooker might need a look or cleaning.
- Can I use regular coffee instead of espresso? Yeah, but keep it strong so you don't lose that rich coffee flavor. Espresso just amps it up a bit more.
- What’s the best way to tell when the cake is done inside a pressure cooker? Use a toothpick like usual, poke in the center, if it comes out clean, you good to go. Watch for the float valve too and don’t rush the natural release.
- Can I make this cake in a regular oven instead? Absolutely, just bake at 350°F for 30–35 mins as usual. The pressure cooker just cuts down the wait and keeps it moist.
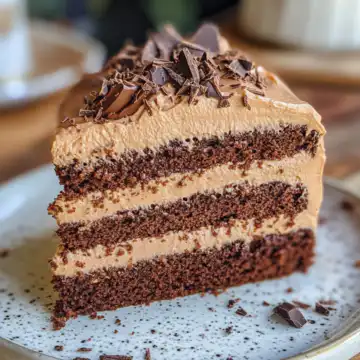
Baileys Coffee Cake Recipe with Chocolate and Espresso
Equipment
- 1 Mixing bowl large
Ingredients
Cake Batter
- 1 ½ cups All-purpose flour the base for our cake texture
- ½ cup Unsweetened cocoa powder gives that deep chocolate rush
- 1 teaspoon Baking powder helps the cake puff up nice and soft
- ½ teaspoon Baking soda works with the powder for the perfect rise
- ¼ teaspoon Salt balances the sweetness and boosts flavor
- ½ cup Unsalted butter softened — creamy richness
- 1 cup Granulated sugar sweetener
- 2 Large eggs room temperature
- ½ cup Sour cream adds moisture and slight tang
- ¼ cup Strong brewed espresso cooled
- ¼ cup Baileys Irish Cream adds cozy Irish twist
- 1 teaspoon Vanilla extract for sweet, warm aroma
- ½ cup Mini chocolate chips little surprises in every slice
Instructions
Instructions
- Grease and flour an 8-inch round cake pan.
- In a medium bowl, mix flour, cocoa powder, baking powder, baking soda, and salt.
- In a large bowl, beat butter and sugar until light and fluffy.
- Add eggs one at a time, beating well after each.
- Stir in sour cream, espresso, Baileys, and vanilla until smooth.
- Slowly mix in dry ingredients just until combined.
- Fold in mini chocolate chips.
- Pour batter into prepared pan, smooth the top.
- Place pan on trivet in pressure cooker with water underneath and cook on high pressure for 30 minutes. Allow natural release before opening.
- Let cake cool in pan for 10 minutes, then remove and fully cool on wire rack.