










The pressure builds and you start counting down minutes until you eat.
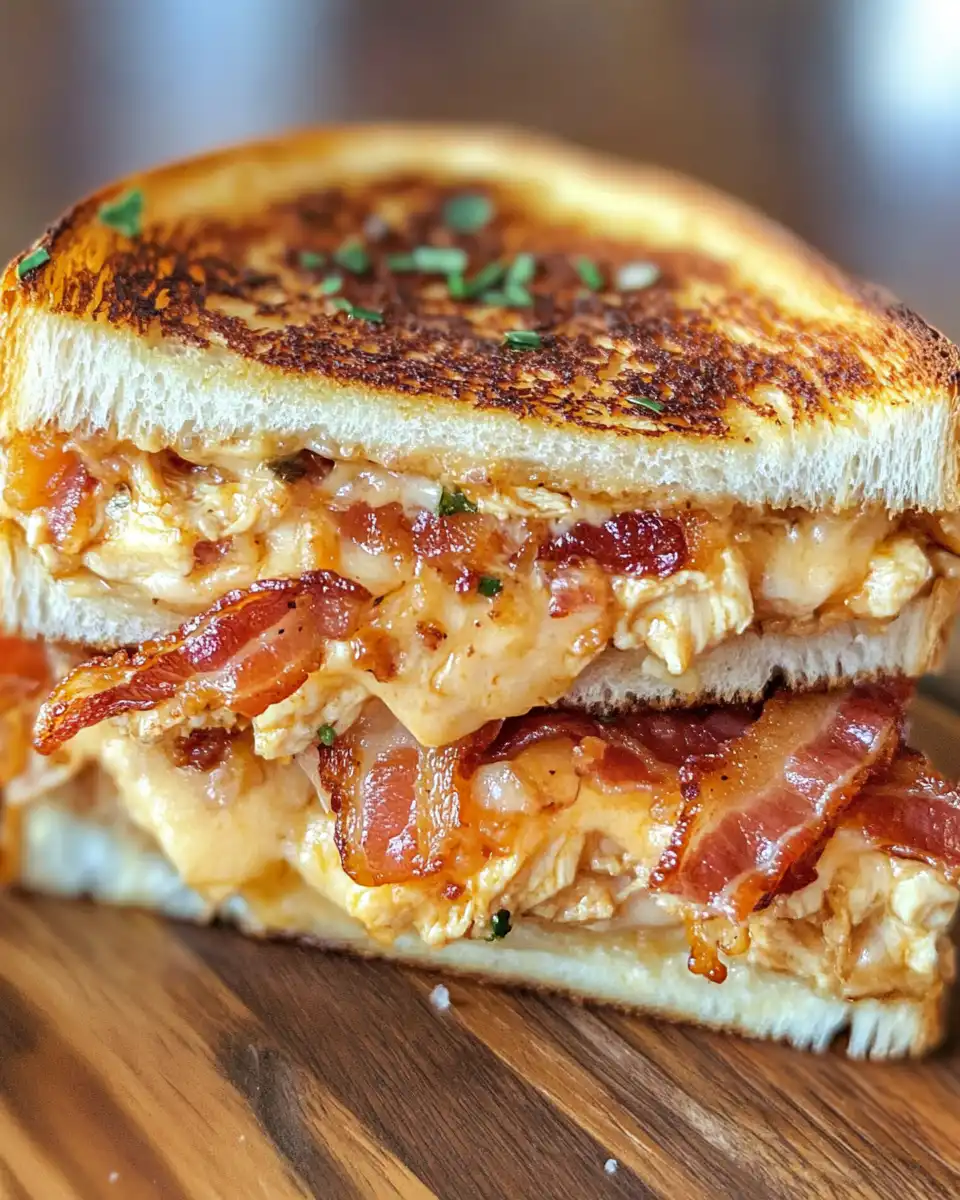
You spot that perfect crust forming on the skillet, that golden brown crisp that only happens when you pay close enough attention. Even as the smell of bacon and cheddar wafts through your kitchen, your stomach kinda starts growling louder.
Then you feel that satisfying sound of cheese melting and mingling with the sour cream ranch mix 6 it 2s like your taste buds are gearing up for something real good. And when you get that tender pull of juicy chicken mixed with the salty crunch of bacon? Dang, it 2s a win.
The Real Reasons You Will Love This Method
- You can get deep broth depth flavor if you decide to pressure cook the chicken first 6 it gives that juicy taste.
- The sealing ring keeps all that steam trapped so flavors meld just right.
- This melt comes together super quick, so no long wait times before you chow down.
- You get a crispy outside but tender pull on the inside chicken every time.
- The natural release on pressure cooker helps keep everything moist and juicy.
- It 2s easy to assemble and doesn 2t need fancy skills, I swear.
- You can switch up the bread or cheese and still get dang good results.
For a delicious twist on your chicken dishes, try Thai Sweet Chili Chicken or explore quick weeknight dinners that impress without stress.
What Goes Into the Pot Today
- 1 tablespoon sour cream 6 this adds creaminess to the mix
- 1 ½ teaspoons dry ranch dressing 6 that punch of herb goodness
- 2 slices bacon, crushed 6 crispy and salty, can 2t skip this
- 1 cooked and cubed chicken breast 6 tender and ready for mixing
- 1 oz shredded extra sharp cheddar cheese 6 for that cheesy depth
- 1 slice extra cheddar cheese 6 perfect to layer on the bread
- 2 slices Daves Killer Bread 6 sturdy enough for crisping but soft inside
- Butter 6 for spreading on bread and crisping to golden perfection
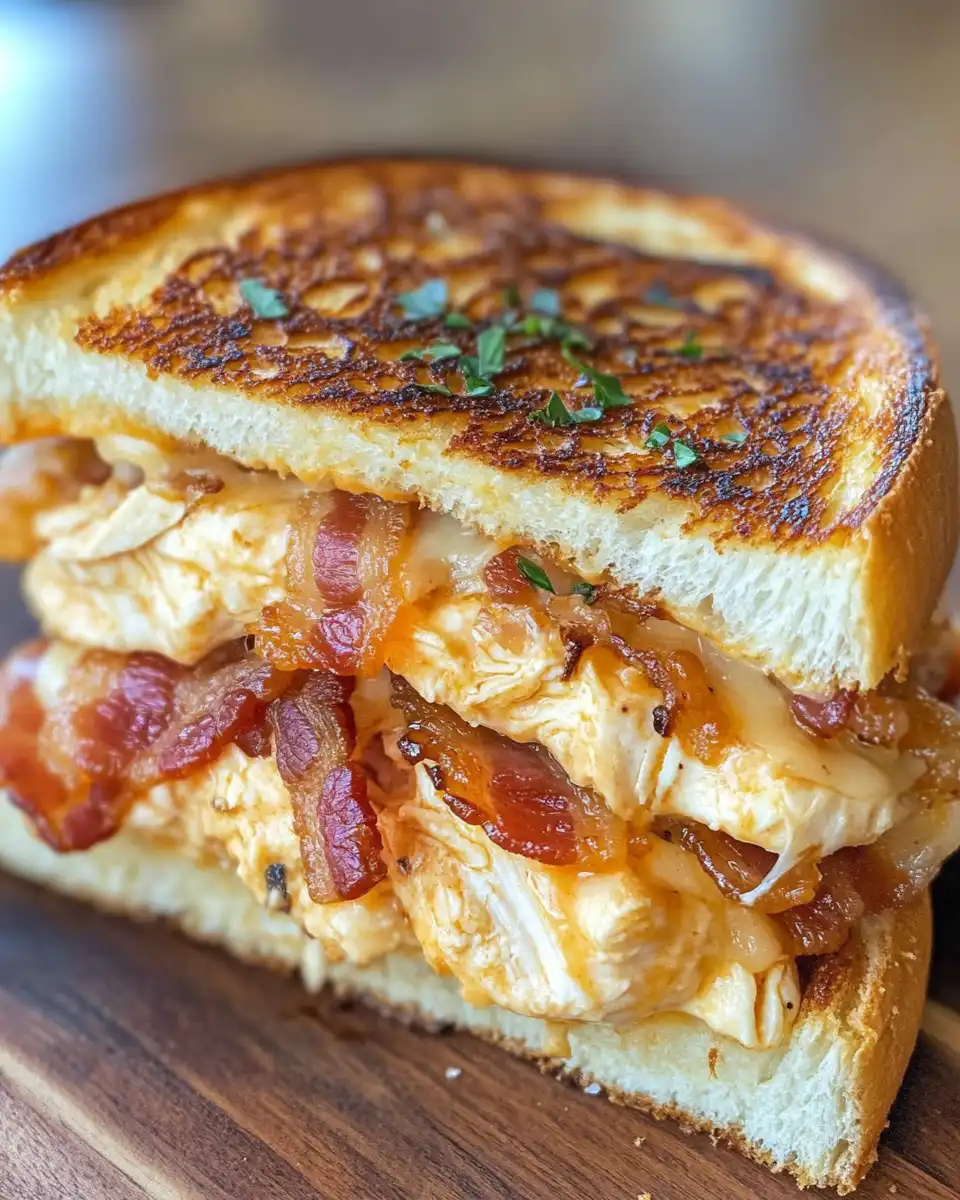
Butter both slices of the Daves Killer Bread. You wanna spread it evenly so every bite has that buttery crisp.
Place one buttered slice, butter side down, into your warm skillet. Then quickly layer the slice of cheddar cheese and spoon on that chicken-bacon-ranch blend.
Top it off with your other slice of bread, butter side up. Now crank the heat to medium and let it cook about 2 to 4 minutes until the bottom slice is golden and crispy enough to pull.
Flip the sandwich over and cook the other side until it 2s just slightly browned. For the final step, put a bowl on top to trap heat which helps melt the cheese nicely. After about a minute, you 2re ready to dig in and serve immediately.
Quick Tricks That Save Your Time
- Use pre-cooked chicken leftover from dinner or rotisserie chicken to skip cooking chicken from scratch.
- Crush your bacon earlier and keep it in the fridge so it 2s ready to mix whenever.
- Butter spreading goes faster if you soften your butter a bit before spreading.
Try crushing your bacon bits in advance like I do in my Brownie Bite Gnomes Recipe for quick access while prepping.
The Flavor Experience Waiting for You
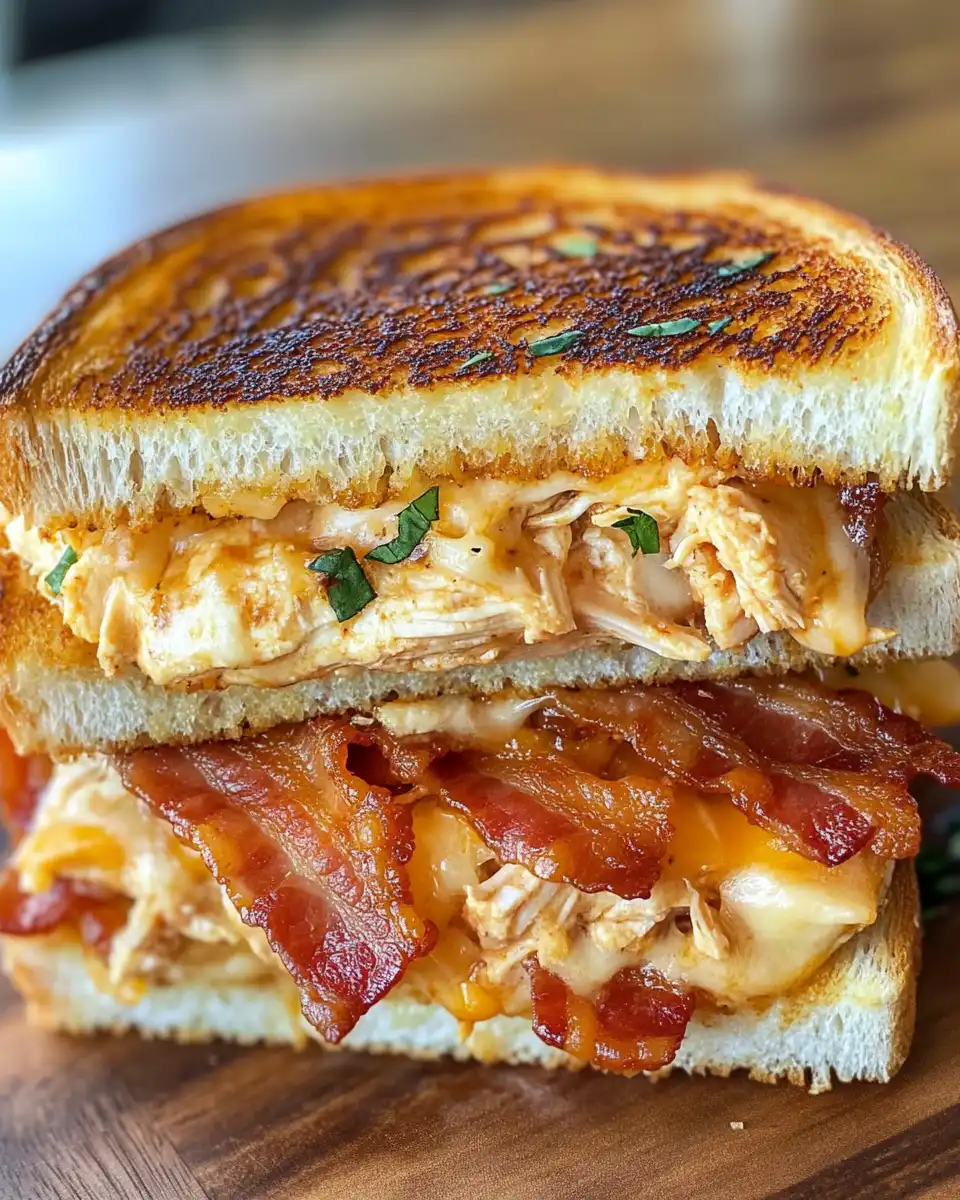
Right when you bite, you catch that crispy, buttery bread crunch that 2s just dang satisfying. Then the sharp cheddar melts in your mouth with the creamy sour cream and ranch mix blending seamless.
The salty bacon bits punch through with their perfect crunch while the chicken's tender pull gives you juicy chunks of comfort. Every bite kinda melts together into a tasty little party.
You 2ll notice how the flavors balance between smoky, creamy, tangy and cheesy 6 each element perfectly playing off the others. It 2s exactly the kinda sandwich that stays on your brain long after the last bite.
Keeping Leftovers Fresh and Ready
Wrap leftovers tightly in aluminum foil for short-term fridge storage. This keeps the bread from drying out overnight.
If you got more than a day or two, popping leftovers into an airtight container works best to preserve freshness and keep moisture locked in.
When it 2s time to eat again, use a skillet to slowly warm it back up. This brings back the crispiness on the outside without sogginess.
Freezing works too but slice in half first. Wrap well and thaw overnight in the fridge before reheating gently on the skillet.
The FAQ Section You Actually Need
- Can I use other types of bread? Totally yes. As long as it can hold butter and crisp without falling apart, you 2re good.
- Do I have to cook chicken fresh? Nope. Leftover cooked or rotisserie chicken works just fine and saves time.
- Why butter both sides of the bread? Doing both sides gets you a golden, crispy finish on the outside and that buttery flavor in every bite.
- What if I don 2t have dry ranch dressing? You can toss in a ranch seasoning packet or a mix of herbs like parsley, dill, and some garlic powder.
- How do I know when to do a natural release on pressure cooker? For tender pull chicken in other recipes, natural release helps keep meat moist. For this recipe though, you mainly use the skillet for crisping up.
- Can I add veggies or extras to the melt? Sure thing. Onions, tomatoes, or even a bit of jalapeno can kick it up a notch if you want.
Don 2t miss trying our Cinnamon Apple Fritters You 2ve Got to Attempt for a sweet and spicy treat that complements this savory melt.

Cheddar Ranch Chicken & Bacon Melt with Bun-less Everything BLT Egg Sliders, Classic Mojito, Killer Beef Kebabs & Breakfast Pizza
Equipment
- 1 Skillet Medium heat
- 1 Mixing bowl For mixing filling
Ingredients
Main ingredients
- 1 tablespoon Sour cream
- 1 ½ teaspoons Dry ranch dressing
- 2 slices Bacon crushed
- 1 Cooked chicken breast cubed
- 1 oz Shredded extra sharp cheddar cheese
- 1 slice Cheddar cheese extra
- 2 slices Daves Killer Bread
- Butter for spreading
Instructions
Instructions
- Butter both slices of Daves Killer Bread evenly.
- Heat a skillet on medium heat and place one slice of bread, butter side down.
- Layer cheddar cheese slice on bread.
- Mix chicken, bacon, sour cream, ranch mix, and shredded cheese, then spoon over the cheese slice.
- Top with other bread slice, butter side up.
- Cook 2–4 minutes until underside is golden and crisp.
- Flip carefully and cook other side until lightly browned.
- Add a heatproof bowl on top to trap heat during final minute.
- Remove from pan once cheese is melted and edges crispy.
- Slice if desired and serve immediately while hot.
- For storage, wrap tightly in foil or airtight container.



