










That first hiss from the cooker tells you something good is happening. You notice your kitchen filling with a warm, kinda sweet scent that makes you smile real big. It gets you ready for what’s coming next.
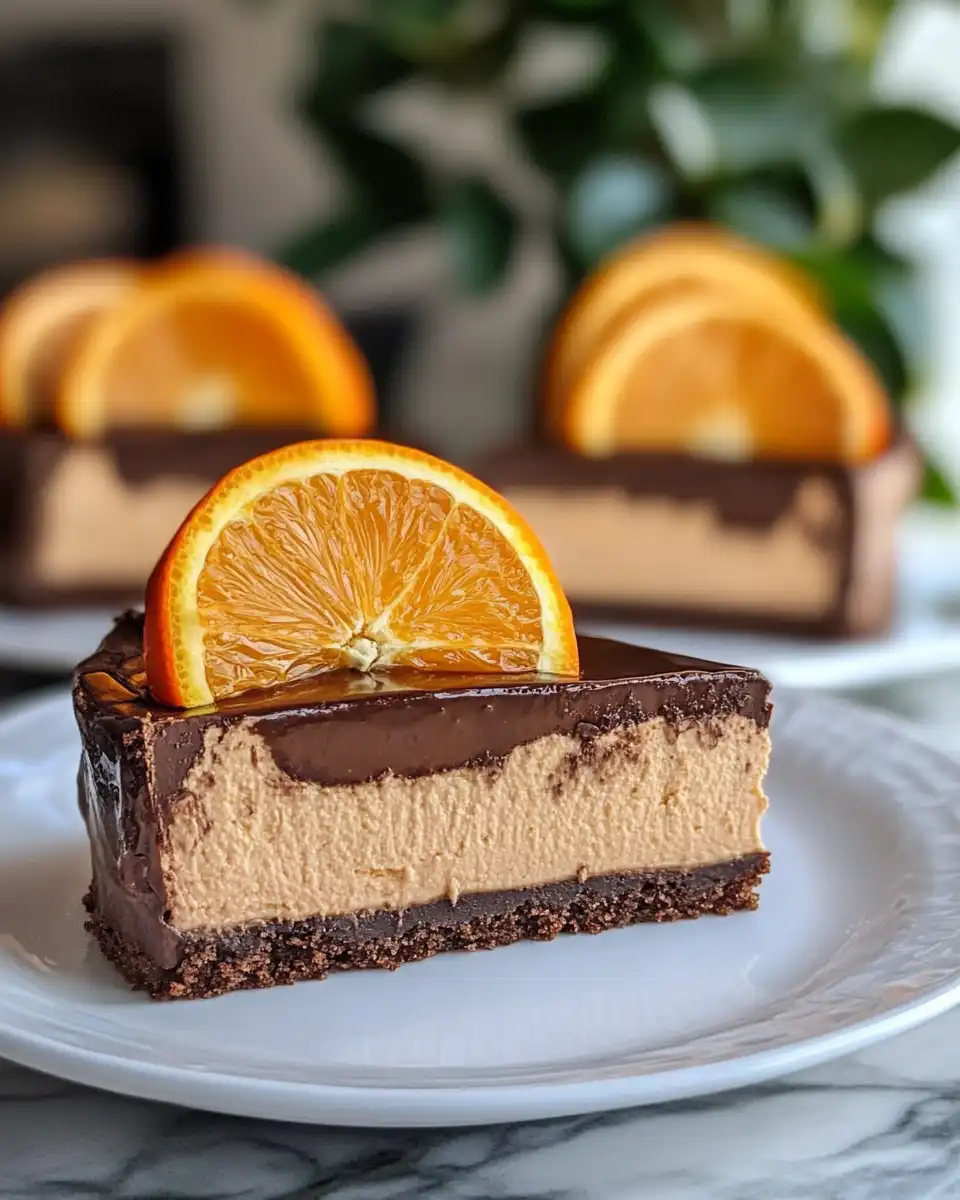
When you hear that valve hiss, it’s like a little signal from your pressure cooker saying it’s doing its thing right. It’s different from just regular cooking. You catch yourself watching the lid a little more closely, kinda excited because you know it’s gonna be worth it.
You remember how cumbersome cheesecake baking always felt in the oven, needing lotsa patience and a tricky water bath. But dang, using your pressure cooker changes all that. It pulls the whole process together faster while keeping that tender pull of a perfect cheesecake texture you’re chasing.
The Real Reasons You Will Love This Method
- Pressure cooking makes the cheesecake creamy and smooth without cracking.
- The sealing ring locks in moisture so your dessert doesn’t dry out.
- You get shorter cook times compared to baking in a regular oven.
- The natural release keeps the cake’s texture nice and tender.
- It’s foolproof; your cheesecake sets just right almost every time.
- You don’t gotta watch the oven for hours, freeing you up for other stuff.
- Perfect for city condo kitchens where oven space might be limited.
All the Pieces for This Meal
- 2 & ⅓ cups (250gms) chocolate flavored cookies
- 1 stick/½ cup (115gms) unsalted butter
- Zest of two small oranges
- Just under half a block (1.6oz/45gms) good quality dark chocolate like Lindt or Ghirardelli
- Zest of three small oranges
- 1 cup (250mls) thickened cream
- 2 x 8 ounce tubs (450gms total) full fat cream cheese
- 1 & ½ tablespoons freshly squeezed orange juice
- ⅓ cup (75gms) white sugar
- 2 - 3 chocolate flavored cookies and ¼ cup (85 gms) marmalade for garnish
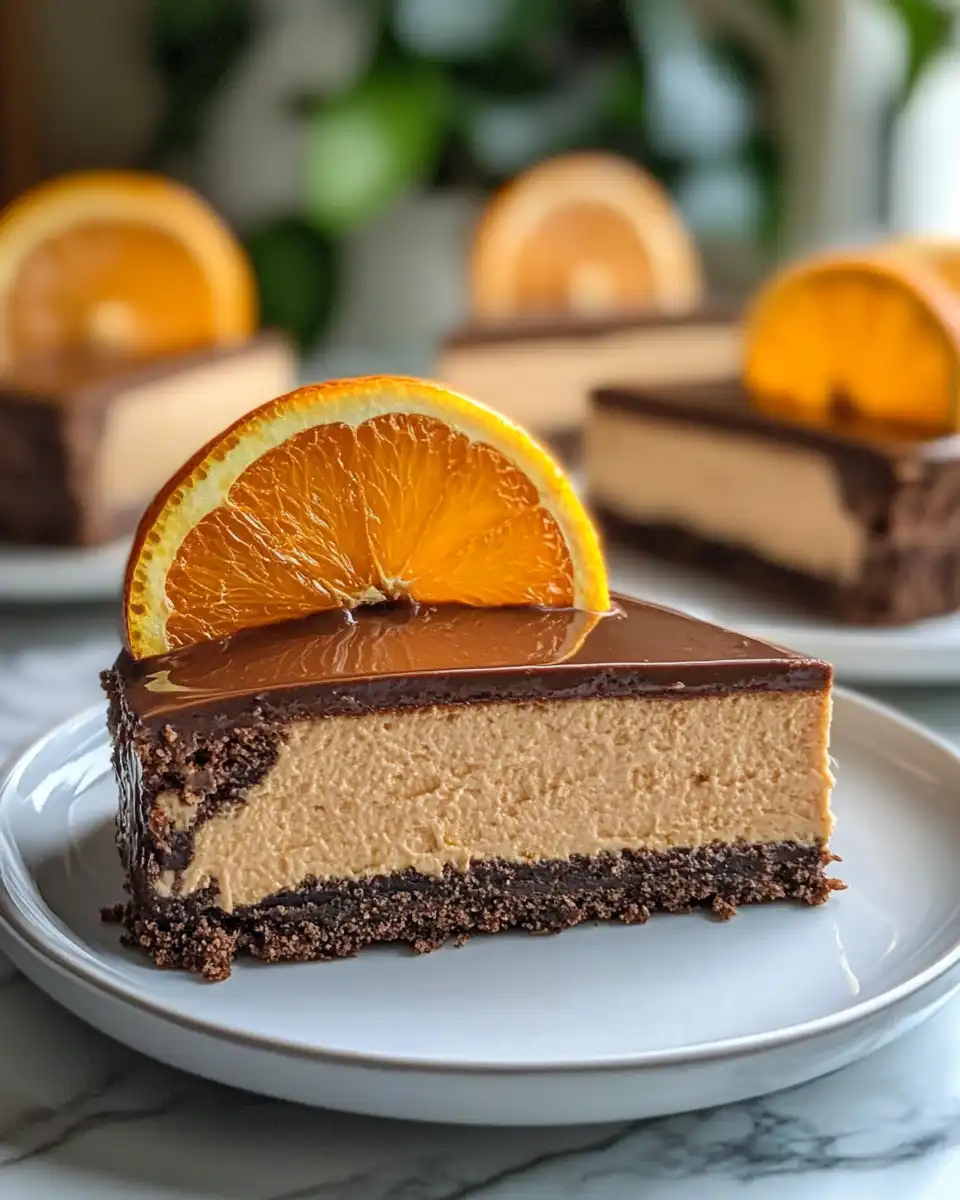
You’ll wanna have those ingredients ready and measured before you start. Having good quality dark chocolate makes a big difference here. It melts smooth and gives your cheesecake extra rich flavor.
Make sure the cream cheese is full fat and softened a bit, helps it blend nicely without lumps. The orange zest from three small oranges plus the juice give it a zingy brightness that balances all that chocolatey goodness real good.
The Full Pressure Cooker Journey
- Preheat your oven to 325°F (160°C) – wait, yeah that’s for the crust prep and chilling, not for cooking cheesecake in the cooker.
- Grease and line the base of a springform pan so your cheesecake can come out smooth.
- Pop the chocolate cookies into your food processor and pulse until fine crumbs show up. Melt the butter and mix with crumbs good till it's all combined. Press this into the base of your pan nice and firm. Now toss it into the fridge while you start on the filling.
- Beat the cream cheese, sugar, orange juice, and zest until you get a creamy smooth mixture. Don’t rush, make sure it’s silky for best texture.
- Whip the thickened cream until soft peaks come up and then gently fold it into your cream cheese mix. This step keeps the filling light and fluffy.
- Melt your dark chocolate and swirl it through the filling to make a pretty marbled effect. Pour all that over your chilled base and smooth the top down.
- Now, time to cook in the pressure cooker. Place a trivet inside, add one cup of water and set your springform pan on top. Lock the lid with the sealing ring and set to high pressure for 45 minutes. Let it go through a natural release so the tender pull is perfect. Chill for at least 4 hours after cooking and decorate with crumbled cookies and extra orange zest before serving.
Valve Hacks You Need to Know
- Always check your sealing ring before starting to make sure it’s clean and flexible for a tight seal.
- When your cook time is up, opt for a natural release instead of slow release for this cheesecake to keep that tender texture.
- If you hear weird valve hiss noises, double check the lid is locked properly and the valve is in sealing position.
- Remove the springform pan carefully using oven mitts after cooking to avoid mishaps.
- Use the valve hiss sound as your cue to stay close and ready to switch off if anything doesn’t seem right.
That First Bite Moment
You take your fork and break through the smooth top of this cheesecake. It feels soft but sturdy, like it’s holding everything perfectly together.
When it hits your tongue you first get the rich chocolate notes that melt slowly. Then the fresh orange zest wakes things up with a lovely zing.
The balance of creamy filling and crunchy crumb base makes your mouth do a happy dance cause both textures compliment each other real good.
Each bite is like a little celebration in your mouth, that kind of dessert worthy of sharing or keeping all to yourself, no judgment here.
Keeping Leftovers Fresh and Ready
You wanna store your cheesecake properly to keep it tasting fresh for days. First up, wrap the whole cheesecake tight with plastic wrap or foil to keep air out.
If you chopped it into slices, pop them in an airtight container. This stops your fridge from drying out the dessert or catching weird flavors.
Don’t forget you can freeze cheesecake pieces wrapped individually in plastic wrap and then stored in a freezer bag. Thaw overnight in the fridge when you want a treat later.
Common Questions and Real Answers
- Can I use any cookies for the base? Yep, chocolate cookies work best here for flavor but you can switch it up if you like.
- Why natural release instead of quick release? Natural release helps the cheesecake keep its tender pull, quick release might make it crack or get dry.
- Can I make this dairy free? You’d need special cream cheese and cream substitutes, but it could change texture quite a bit.
- Why melt dark chocolate before mixing? It blends smoother and gives those neat marbled patterns throughout the filling.
- What if my cheesecake cracks? It’s usually from quick temp or release changes. Try to keep everything slow and steady, and natural release in your cooker.
- How long can leftovers stay safe in the fridge? Generally about 4 to 5 days if wrapped up well. After that better freeze or finish it fast.
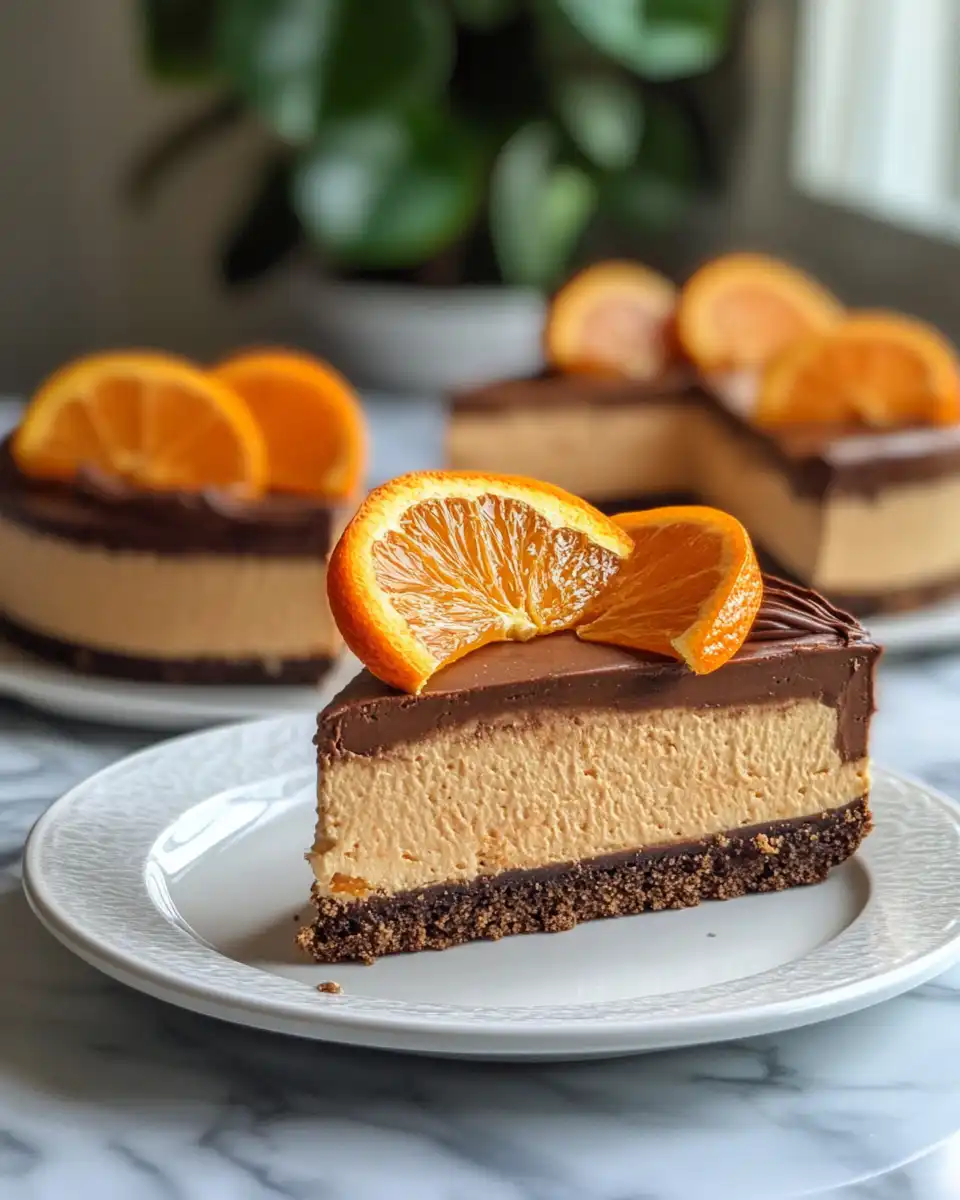
For similar dessert ideas and easy pressure cooker recipes, don’t miss our Pressure Cooker Cannoli Cheesecake Bars Recipe, Classic Homemade Orange Candy Recipe, and Hawaiian Roll French Toast for more delicious inspirations.
HomeCheesecakes Chocolate Orange Cheesecake by Sarah Brooks, Sarah Rachi, Sylvie, Sarah Brooks
Equipment
- 1 Springform cake tin 7" x 2.5" (18cm x 6.5cm)
- 1 Electric hand beaters or stand mixer
- 1 Stick/immersion blender or food processor with chopping bowl attachment
Ingredients
Main ingredients
- 2⅓ cups chocolate flavored cookies (250gms)
- ½ cup unsalted butter (1 stick / 115gms)
- zest of two small oranges
- 1.6 oz dark chocolate good quality, like Lindt or Ghirardelli (45gms)
- zest of three small oranges
- 1 cup thickened cream (250mls)
- 450 g full fat cream cheese 2 x 8oz tubs
- 1½ tablespoon orange juice freshly squeezed
- ⅓ cup white sugar (75gms)
- 2-3 chocolate flavored cookies for garnish
- ¼ cup marmalade (85gms), for topping
Instructions
Instructions
- Preheat your oven to 325°F (160°C) for the crust chilling step, not for pressure cooking.
- Grease and line the base of a springform pan.
- Pulse chocolate cookies in a food processor until fine. Mix with melted butter and press into the pan base. Chill while preparing the filling.
- Beat the cream cheese, sugar, orange juice, and zest until smooth and creamy.
- Whip thickened cream until soft peaks form. Fold into cream cheese mixture.
- Melt dark chocolate and swirl it into the filling. Pour filling into chilled base and smooth the top.
- Place a trivet inside the pressure cooker, add one cup of water, and set springform pan on top.
- Lock lid, cook on high pressure for 45 minutes, and allow a natural release.
- Chill the cheesecake for at least 4 hours before decorating and serving.
- To decorate, soften marmalade and spread over cake, then top with crushed chocolate cookies.
- Serve and enjoy!



